You update your WordPress site, hit publish, reload the page, and nothing changes. The old sale banner is still there. Yesterday's opening hours are still showing. Sometimes you can even see the new version in the editor and the old version on the live site at the same time.
That usually means one thing. Cache is holding onto an older copy of the site.
For Australian businesses, this gets messy fast because the stale version might be showing to you, your customers, or only some visitors in certain locations. A proper WordPress clear cache routine fixes that, but only if you clear the right layer in the right order.
Table of Contents
- Why Your WordPress Site Is Not Updating
- Clearing Caches from WordPress Plugins
- Purging Your UpTime Server-Side Cache
- Clearing CDN and Object Caches
- Forcing Your Browser to Forget the Old Site
- Verifying Changes and Advanced Troubleshooting

Performance you can feel, backed by clients who depend on it. Read how our support and uptime create long‑term customer success.Power Your Business with Better Hosting
Why Your WordPress Site Is Not Updating
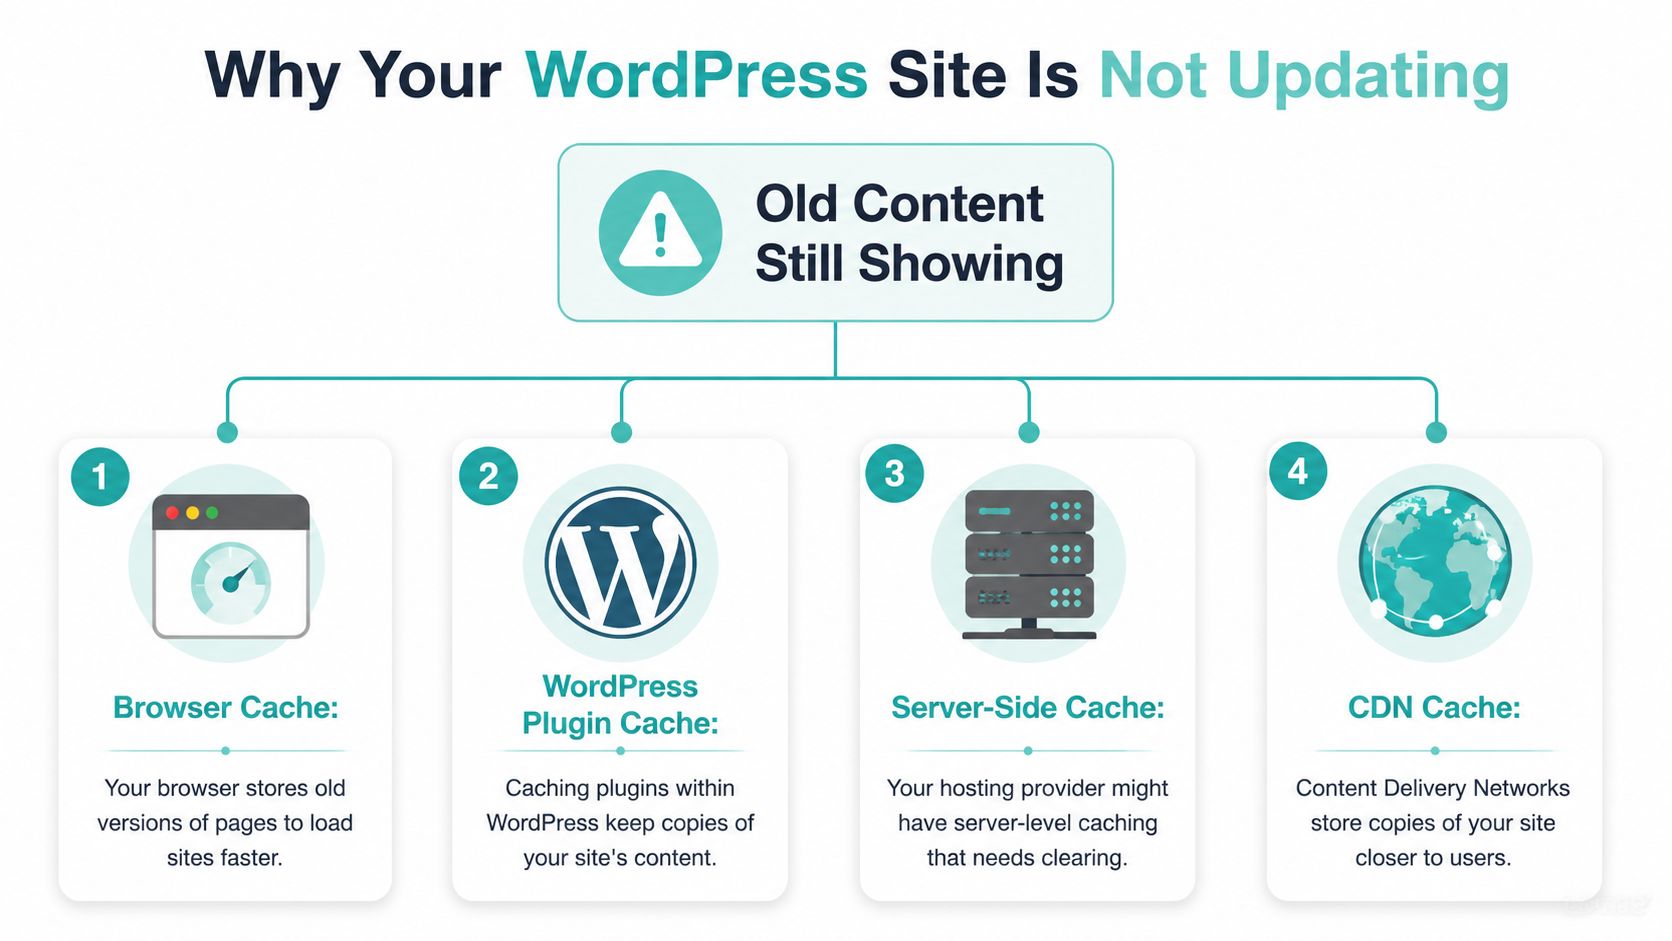
When a site doesn't update, WordPress usually isn't the part that failed. The content often saved correctly. What's happening is that something between the editor and the visitor is still serving an older copy.
Cache is basically a saved snapshot. It helps pages load faster because the server, plugin, browser, or CDN doesn't have to rebuild everything from scratch each time. That's useful right up until you change something important and the old snapshot keeps getting shown.
What cache is doing behind the scenes
A simple way to think about it is a laminated menu at a café. It's quick to hand out because it's already printed. But if the prices change, everyone keeps seeing the old version until the café replaces every copy.
WordPress works the same way. A cached page can sit in several places at once, and each one may need its own purge. WordPress support notes that sites using caching plugins should clear cache after content updates, and Jetpack's guidance shows cache can exist at the plugin, browser, CDN, object, and server levels, each with its own process, as outlined in the WordPress support discussion on clearing cache.
Practical rule: If you changed the site and only one person can't see it, suspect browser cache first. If lots of people still see the old version, suspect plugin, server, or CDN cache.
Why one purge often isn't enough
Many generic guides fall short for Australian sites. You might clear the WordPress plugin cache and still see the old page because the browser has a local copy. Or you purge the browser and miss the server cache. Or both are fine, but a CDN is still handing out an older file from a distant edge.
That's why a proper WordPress clear cache process is layered. You don't guess. You work through the likely copies of the site one by one.
If the issue looks broader than caching, it's also worth checking whether your computer is still resolving an old path or location record. This guide on how to flush DNS can help rule that out.
Clearing Caches from WordPress Plugins
Start in WordPress admin. If a caching plugin is active, it can keep serving an older version of the page even after you save the new one.
This layer is usually the quickest to clear. You can handle it from the dashboard, which makes it a good first fix before touching hosting tools.
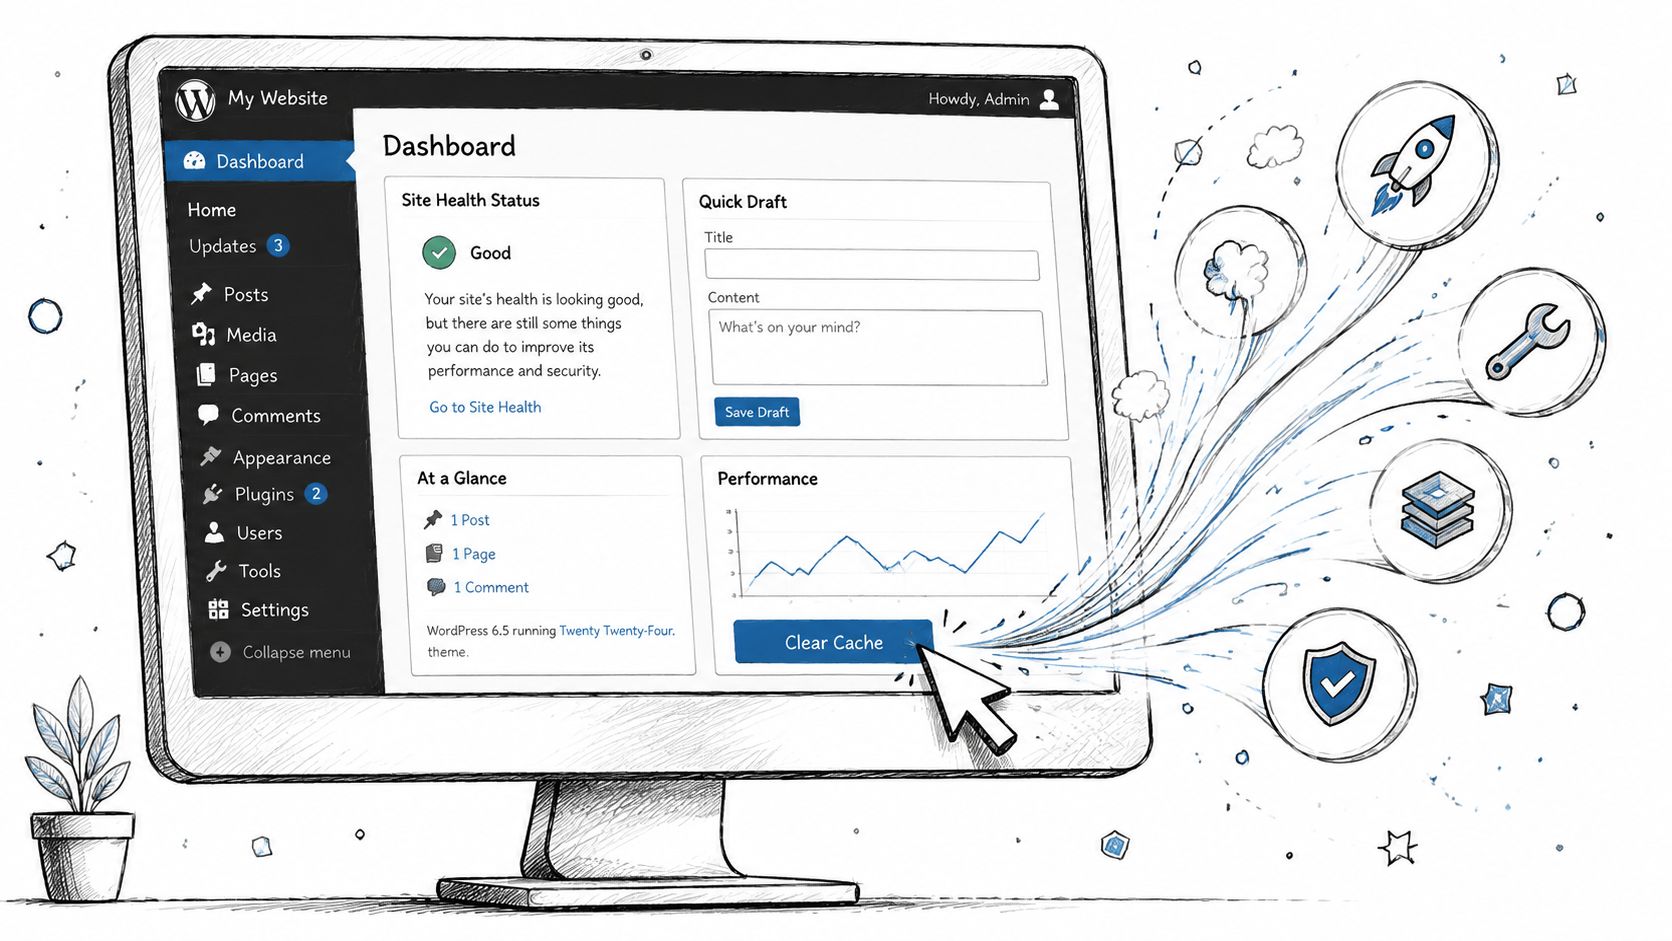
For Australian sites, plugin caching can be especially confusing because the page may appear updated for you in one suburb, while a customer in another state still gets an older cached copy. That does not always mean the edit failed. It often means the plugin is still handing out stale files until you purge them.
LiteSpeed Cache
LiteSpeed Cache is common on hosting that uses LiteSpeed servers, including many UpTime Web Hosting plans. In WordPress admin, open the LiteSpeed Cache menu and look for Purge All or Purge All LSCache. The exact label can vary a bit by version.
Use this order:
- Open the page you changed in a separate tab.
- Go to LiteSpeed Cache in the left admin menu.
- Run a full purge, not a single CSS or image purge.
- Reload the changed page with a hard refresh and check the result.
If you want more background on how plugin caching affects speed and setup choices, this guide to improving WordPress speed with a cache plugin covers the basics well.
WP Rocket
WP Rocket keeps the controls fairly clear. Use the top admin bar or the plugin settings and click Clear cache or Clear and preload cache.
If your update changed styling, scripts, or layout, also rebuild the optimised files if that option is available. A common example is a homepage banner swap. The new image may be uploaded correctly, but the plugin can still reference an older optimised file until that part is regenerated.
W3 Total Cache
W3 Total Cache gives you more settings, which means more chances to miss one. In the admin bar, open the Performance menu and choose Purge All Caches.
If the page still looks wrong, check which modules are enabled. Page cache, browser cache, object cache, and minify can all affect what you see. On a busy site, I usually check the active modules before assuming the purge failed.
Fixing cache plugin conflicts
Multiple caching plugins on one WordPress site often cause stale pages, broken styling, or unpredictable results after an update. This turns up a lot on older sites that have been migrated between hosts, rebuilt by different developers, or tweaked over time.
Keep one caching plugin active. More than one rarely helps, and it often makes troubleshooting slower.
If you spot LiteSpeed Cache, WP Rocket, W3 Total Cache, WP Fastest Cache, or similar running together, clean that up first.
Use this checklist:
- Choose one cache plugin: Match it to your hosting stack where possible. For example, LiteSpeed Cache usually makes the most sense on LiteSpeed hosting.
- Deactivate the extras: Do not leave old caching plugins installed and half-configured.
- Purge the remaining plugin cache: Clear it after the other plugins are switched off.
- Test with a hard refresh: Check the changed page again in a fresh browser reload.
If the plugin cache has been cleared and the old version is still showing, the cached copy is probably being served from higher up the stack rather than from WordPress itself.
Host your website with our 5-star rated, cPanel website hosting plans.
Super fast servers, with security included and hosted in your choice of Australian Data Center.
View cPanel Plans
Purging Your UpTime Server-Side Cache
You update a page, hit refresh, and the old version is still there. On UpTime hosting, that often means WordPress is no longer the layer deciding what gets served first.
Plugin cache is stored inside WordPress. Server-side cache sits above it and can keep handing out an older page even after the plugin cache has been cleared. That catches people out a lot after theme edits, homepage updates, or urgent pricing changes.
What server-side cache means
Server-side cache is created by the hosting stack, not by the plugin in wp-admin. If that cached copy is stale, visitors can still get the old page before WordPress has a chance to generate the new one.
For Australian sites, this matters more than many generic guides suggest. A stale page can look inconsistent depending on where and how it is being cached, especially when visitors are spread across Sydney, Melbourne, Perth, or regional areas where latency already makes troubleshooting feel messy. On UpTime Web Hosting, the usual stack includes LiteSpeed and AccelerateWP, so the clean fix is often to purge the server layer directly in cPanel.
How to flush LiteSpeed cache in cPanel
For LiteSpeed hosting, use the server tools first when a page change refuses to appear:
- Log in to cPanel.
- Open LiteSpeed Web Cache Manager.
- Choose the full purge option, usually labeled Flush All.
- Wait 10 to 20 seconds.
- Reload the changed page in a fresh browser tab or private window.
If you want the exact menu path and screenshots, use this step-by-step guide to clearing LiteSpeed cache in cPanel.
On UpTime Web Hosting, this is often faster and more reliable than trying to solve the problem from inside WordPress alone. AccelerateWP can help with performance tuning, but LiteSpeed is still the layer most likely to hold onto an old page after a visible site update.
Why manual deletion is usually the wrong first move
Deleting cache folders in File Manager or over FTP sounds thorough, but it is usually a cleanup method for edge cases, not the first fix. It takes longer, it is easier to miss the correct path, and it may not clear every cache involved.
Here's the practical difference:
| Method | Good for | Common problem |
|---|---|---|
| Plugin purge | Routine content updates | Misses server or CDN cache |
| cPanel Flush All | Server-level reset | Requires hosting access |
| FTP folder deletion | Emergency cleanup | Permission issues or incomplete purge |
| WP-CLI flush | Object cache cleanup | Requires SSH and the right command |
If a plugin purge should have worked but didn't, start with the server cache flush. That removes one of the most common causes of stale pages on LiteSpeed-based Australian hosting.
Clearing CDN and Object Caches
You update a homepage banner at 9:00 am, check the site on your phone in Sydney, and the old version is still there. A few minutes later, someone in Perth says they can see the new one. That usually points to a cache outside WordPress.
A CDN stores copies of files on servers closer to visitors, which helps with delivery across Australia's long east to west distances. The trade-off is simple. You now have another layer that can keep serving an older copy after the origin server has already updated.
When your CDN keeps serving old files
This usually shows up after a visual change, a sale launch, or a CSS tweak that should have been obvious straight away.
The page itself may be current on your server, but the CDN can still hold an older HTML file, stylesheet, script, or image. On Australian WordPress sites, that can be confusing because one region may refresh sooner than another, especially if the CDN edge closest to the visitor has not expired its copy yet.
If your site uses Cloudflare or another CDN, purge that layer separately. For local performance context, this guide to website speed optimisation for Australian users explains why delivery location matters for AU traffic.
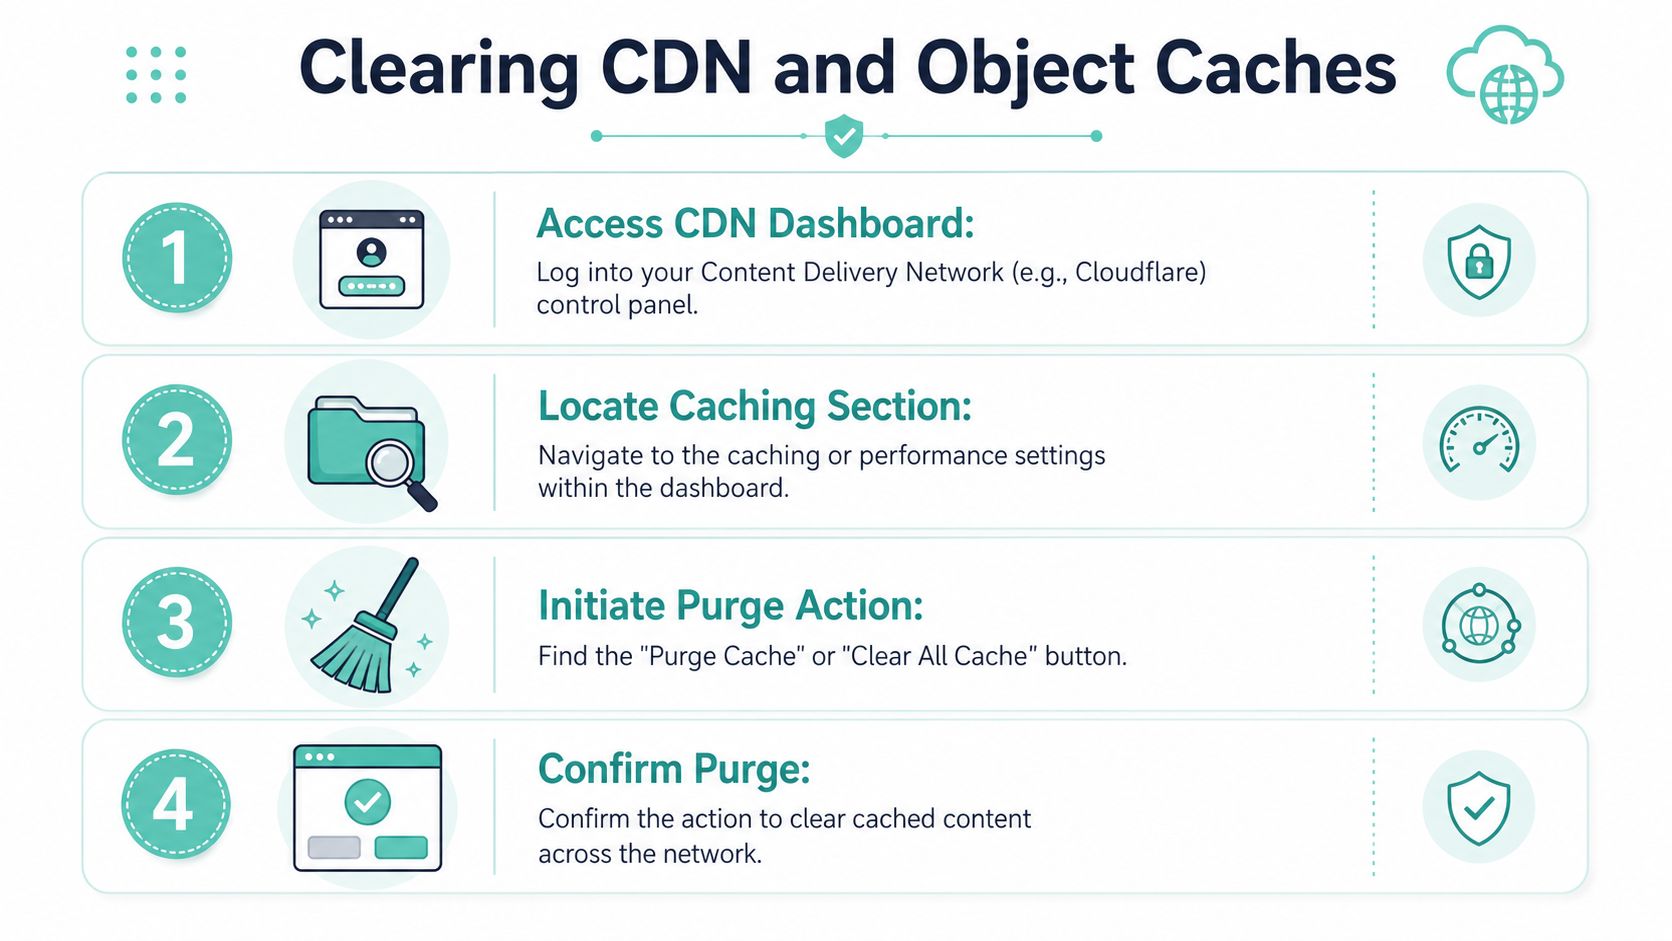
How to purge Cloudflare cache
Cloudflare is a common setup, and the fix is usually quick:
- Log in to Cloudflare and choose the correct site.
- Open Cache or the cache management area in the dashboard.
- Run a full purge if you are troubleshooting stale content across multiple files.
- Test again in a private window or on mobile data, so you are not looking at a local cached copy.
A partial purge is fine when you know the exact asset path. For example, if only /wp-content/uploads/2025/06/sale-banner.jpg is wrong, purging that file is tidy and avoids flushing the whole edge cache. If you have updated a page builder layout, theme CSS, and images at the same time, a full purge is usually faster than chasing each file one by one.
On UpTime Web Hosting, this matters most on sites using AccelerateWP with a CDN in front of LiteSpeed. The stack performs well, but each layer caches differently. If the server cache has already been flushed and the page is still old in one region, the CDN is the next place to check.
How to clear object cache with WP-CLI
Object cache is a different layer again. It stores database query results and application data so WordPress does less work on repeat requests. That helps WooCommerce, membership plugins, busy blogs, and custom builds.
It can also keep old data around after a page cache purge.
If your site uses Redis or Memcached, clear the object cache over SSH with:
wp cache flush
Use this when the page layout looks current but the data inside it does not. Common examples are old menu labels, incorrect stock levels, stale account details, outdated cart fragments, or widgets that refuse to catch up.
A simple rule helps here. If the file looks old, check CDN or page cache. If the page looks right but the content inside it is wrong, check object cache.
Forcing Your Browser to Forget the Old Site
After you've cleared the plugin, server, and CDN layers, one last copy may still be hanging around on your own computer.
Browsers store local files so repeat visits feel faster. That's helpful until the browser stubbornly shows yesterday's version of the page and makes you think the website didn't update.
Google Chrome held about 63.6% of the Australian desktop browser market in December 2024, according to Jetpack's guidance on WordPress cache clearing. That's why browser-level troubleshooting isn't optional. For many Australian site owners, it's the final step that reveals the change.
Hard refresh shortcuts
A hard refresh tells the browser to ignore its local cached copy and request a fresh version.
Use these shortcuts:
- Chrome on Windows: Ctrl + F5
- Firefox on Windows: Ctrl + F5
- Edge on Windows: Ctrl + F5
- Chrome on Mac: Cmd + Shift + R
- Firefox on Mac: Cmd + Shift + R
- Safari on Mac: Reload after emptying cache from browser tools or use a private window for a clean test
If you need a quick reference for your team or clients, this browser hard refresh guide is handy to share.
When to clear browsing data instead
A hard refresh is usually enough. If it isn't, clear browsing data for cached files, then reopen the page.
Use that stronger reset when:
- You changed styling or scripts: Browsers can hang onto old CSS and JavaScript.
- Only one device shows the issue: That points to a local browser copy.
- The problem survives private browsing tests: Then you may be dealing with a deeper cache layer or extension conflict.
A good support habit is to ask customers to try private browsing before anything else. It quickly tells you whether the stale view is local to them.
Register your new domain name at competitive market prices including free domain add-ons like privacy, DNS Hosting, Custom Nameservers and Forwarding.
Always the best price and no nasty renewal price hikes.
Register A Domain Name
Verifying Changes and Advanced Troubleshooting
You update a headline, clear every cache you can find, then reload the page and still see the old version. That usually means one thing. A stale copy is still being served from one layer, even though another layer has updated correctly.
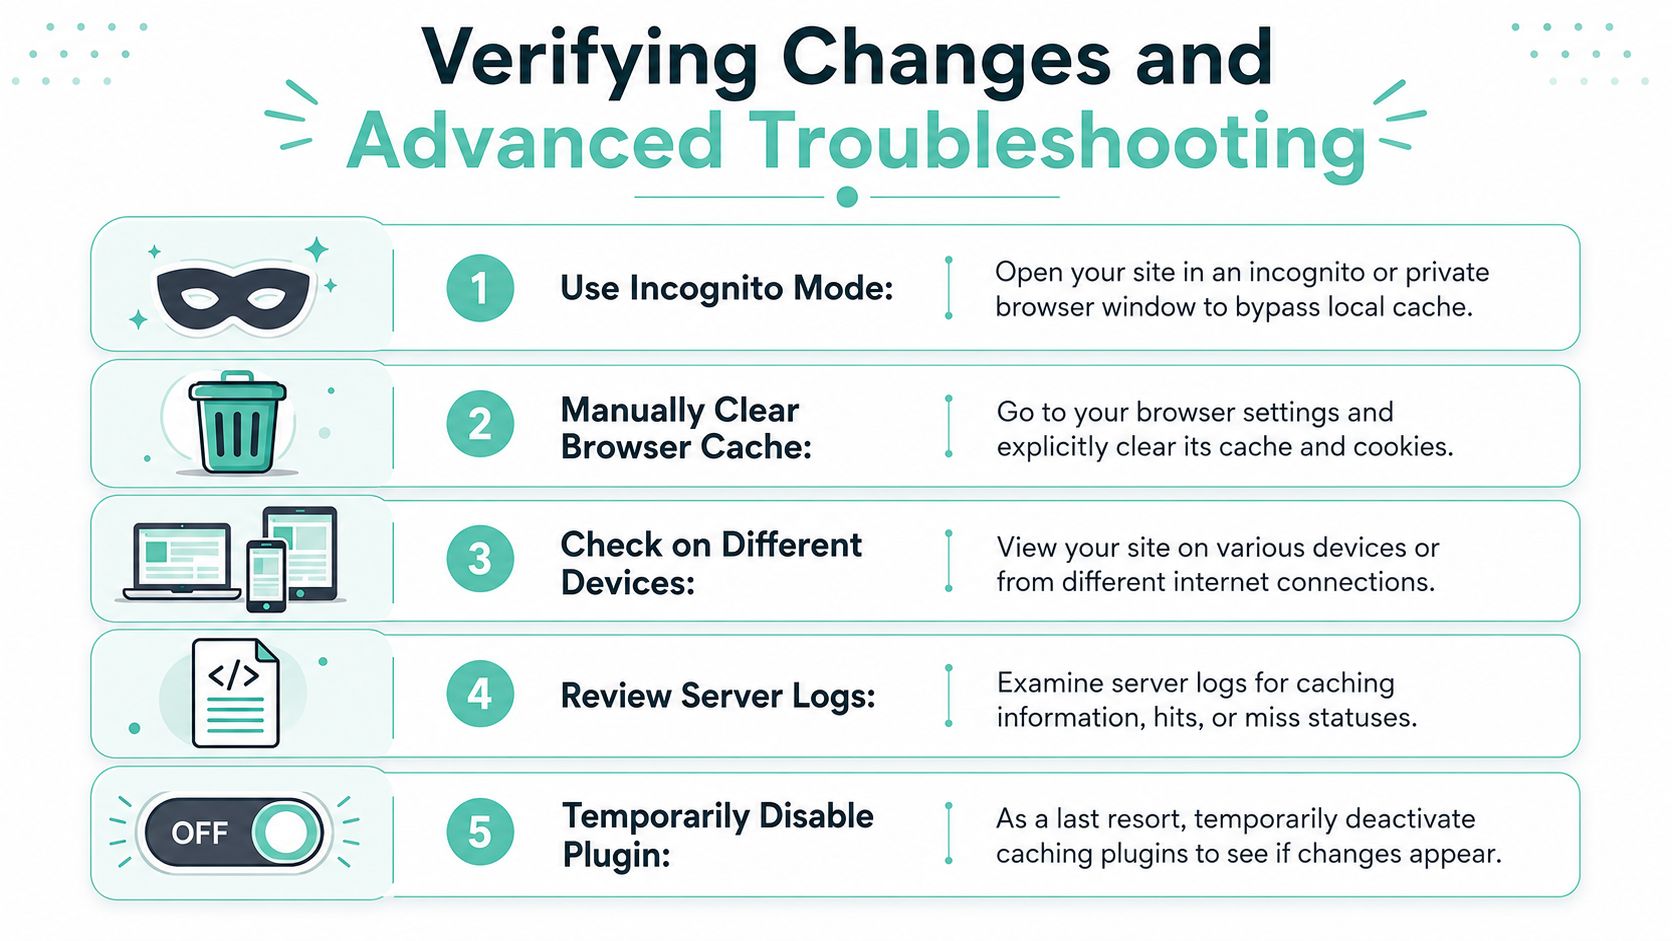
The quickest way to sort that out is to test methodically. Random refreshing wastes time and makes cache issues harder to isolate, especially on Australian sites where latency between your device, the origin server, and any CDN edge can muddy the picture.
How to check whether the new version is live
Use the same page and test it in a few controlled ways. The goal is to find the first place where the new version appears.
- Check the page in a private window: If the change appears there, the problem is usually local browser storage, an extension, or a logged-in session issue.
- Test from mobile data: This bypasses your home or office network path and can expose ISP or router-level caching behaviour.
- Compare more than one element: Look at the text, an image, a button style, and the footer. Sometimes only one asset is stale.
- Test while logged out: Logged-in WordPress users often bypass some cache layers, so the admin view can look correct while public visitors still get the old page.
- Disable the cache plugin briefly if needed: If the update appears straight away, you've identified the WordPress caching layer as the likely culprit.
If a client says, “the site still looks old”, narrow it down. Ask what part looks old, which device they're using, whether they're on Wi-Fi or mobile data, and whether the problem shows on the homepage only or across the site. Those answers usually point to the layer holding the stale copy.
Why a site can feel slower right after a purge
A freshly purged site often feels slower for a few minutes. That is normal.
The cached HTML, CSS, images, and query results have to be generated again. On Australian WordPress sites, you'll notice this most on stores or booking sites that pull in local payment methods, shipping tools, or dynamic pricing. Afterpay widgets, cart fragments, location-based content, and logged-in sessions can all take an extra request or two to rebuild properly.
On UpTime Web Hosting, this matters if you're using AccelerateWP and LiteSpeed together. Once you purge, the first few visits rebuild the fast version. That can briefly affect load time, but it should settle quickly after a handful of real page requests. If performance stays poor well after the rebuild period, the issue is probably not the cache purge itself.
A practical troubleshooting order
Use a fixed sequence so you can rule out each layer cleanly:
- Confirm the page was updated in WordPress: Check the published page, not just the editor preview.
- Verify whether logged-out visitors see the change: Use a private window and a second device.
- Check whether only one asset is stale: Common examples are hero images, CSS files, menu fragments, and JavaScript-driven widgets.
- Purge the cache layer that matches the symptom: Full page issue, clear page cache. Slow cart or old stock count, check object cache or dynamic exclusions.
- Review CDN behaviour if one region updates before another: This can happen on globally distributed caches, including when Australian visitors hit a different edge than overseas testers.
- Temporarily bypass caching for diagnosis: Short test only. Re-enable it once you confirm the cause.
For WooCommerce sites, run one live action after the page looks correct. Add a product to cart, update a quantity, or complete a test form. A page can look current while dynamic fragments are still coming from an old cached response.
If changes still do not appear
At that point, stop clearing everything repeatedly. Check for one of these deeper causes instead:
- A CDN still serving an old asset
- LiteSpeed cache rules excluding or mishandling part of the page
- A plugin combining or minifying CSS and JavaScript into an old file
- Object cache holding old query results
- A theme or builder saving static files that need their own regeneration
- DNS pointing some visitors to a different server than expected
I see this often after design edits in page builders. The page content updates, but the builder's generated CSS file does not. The result is a page with the new text and the old styling. In that case, regenerate the builder's CSS or asset files, then retest.
A good result is simple. You can see the change while logged out, on another device, and over a different connection. Once those three line up, the live site is usually serving the right version to Australian visitors as intended.
If you need a hosting setup that supports these workflows cleanly, UpTime Web Hosting offers Australian-based hosting with cPanel, LiteSpeed tooling, and WordPress-focused performance features, along with local support for troubleshooting stale-cache issues when site changes don't appear as expected.