In short
To publish edits to an existing WordPress page or post, open it in the editor, make the changes, preview them, then select Update in the top-right corner. Use Publish only for content that has never been live. If the live page still looks unchanged, check permissions and clear each cache layer.
Key takeaways
- An already-published page or post normally uses Update, while a new draft uses Publish.
- Preview shows the proposed content, but the logged-out public page is the final check.
- Submit for Review usually means the account can edit content but cannot publish it.
- Scheduling a new draft is different from preparing a future revision of content that is already public.
- Revisions can restore earlier content, while cache clearing can reveal a successful update that appears missing.
Table of contents
- How do you publish edits to an existing WordPress page or post?
- What do Update, Publish, Save draft and Submit for Review mean?
- How do you confirm that the live website changed?
- Can you schedule WordPress changes for later?
- How do revisions help if an update goes wrong?
- What should you check when the live page still looks old?
- What else do new editors ask about publishing WordPress updates?
- Who should own this process when content changes are frequent?
On most WordPress websites, the publishing process depends on the current status of the content. This guide follows the WordPress.org block editor documentation, updated September 14, 2026, but a page builder, custom workflow or older editor may place its controls elsewhere.
How do you publish edits to an existing WordPress page or post?
Open the exact item that is already live, edit it, preview the result and select Update. WordPress saves the changes to the existing public URL, so there is no need to create or publish a second page.
The five-step publishing sequence
- Find the existing item. In the dashboard, go to Pages > All Pages or Posts > All Posts. Search for the exact title and select Edit.
- Make the content changes. Edit the relevant text, image, link or block. Avoid changing the permalink unless the URL also needs to change, because an unnecessary URL change can break existing links.
- Preview before publishing. Use the editor's preview or view control to check the layout at desktop and mobile widths. Confirm that headings, links, images, buttons and forms still make sense around the edited content.
- Check the page or post settings. The Page/Post Settings documentation identifies controls for visibility, publication time, permalink, featured image and other item-level settings. Make sure the item is still public and that no unintended future date or password has been selected.
- Select Update and wait for confirmation. Do not close the tab while WordPress is saving. When the confirmation appears, use View Page or View Post to open the public result.
A site that uses a separate visual page builder may have its own update control inside the builder. Save through the interface used to edit the content and wait for a successful confirmation before leaving it.
For an existing live item, Update is the control that sends the edited content to the public page.

Performance you can feel, backed by clients who depend on it. Read how our support and uptime create long‑term customer success.Power Your Business with Better Hosting
What do Update, Publish, Save draft and Submit for Review mean?
Update changes an item that is already public, while Publish creates the first public version of a draft. The correct button depends on the item's status and the account's publishing permission.
Button meanings at a glance
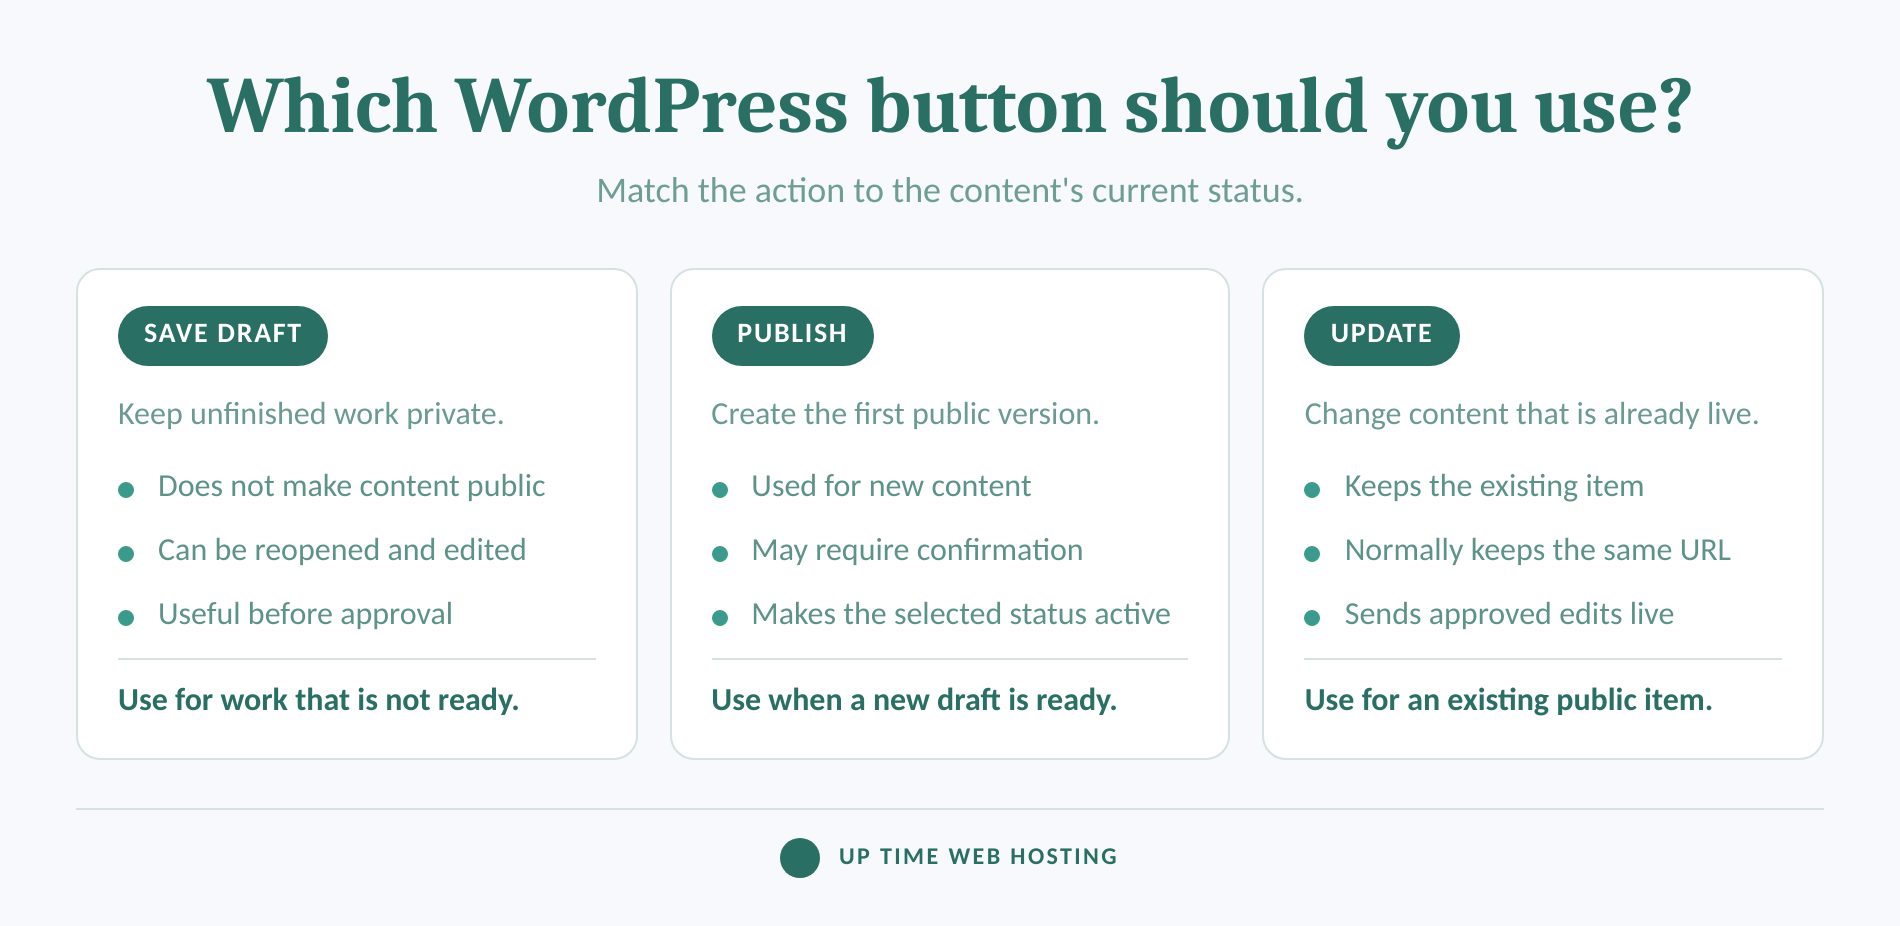
- Save draft keeps unfinished content out of public view. A saved draft can be reopened, edited and published later.
- Publish makes a new draft public. In the block editor, WordPress may ask for a second confirmation after the first click.
- Update saves edits to an item that has already been published. The existing URL normally stays the same.
- Submit for Review sends the draft into an editorial workflow instead of publishing it. The WordPress roles and capabilities documentation explains that users without the required publishing capability can edit or submit content without receiving the Publish control.
The word Saved is not proof that visitors can see a change. It may only confirm that WordPress saved a draft or autosave inside the editor.
The correct button depends on the item's status and the user's publishing permission.
How do you confirm that the live website changed?
Open the public URL in a logged-out or private browser window after WordPress confirms the update. Preview is useful before publication, but the public page is the only reliable confirmation of what an ordinary visitor receives.
Check the following details:
- Confirm the browser address is the intended page, not a preview URL, duplicate or staging site.
- Find the exact sentence, image or component that was changed.
- Test any edited link, download, button or contact form.
- Check the page at a narrow mobile width as well as on desktop.
- Confirm that nearby content was not removed or shifted by the edit.
If the public page still displays the old version, reload it without using the browser's stored copy. If that does not work, follow the steps for clearing WordPress caches and check the browser, WordPress cache plugin, hosting cache and CDN in order. Purging one layer at a time makes the cause easier to identify.
A publishing task is not finished until the logged-out public page shows the intended change.
Host your website with our 5-star rated, cPanel website hosting plans.
Super fast servers, with security included and hosted in your choice of Australian Data Center.
View cPanel Plans
Can you schedule WordPress changes for later?
A new draft can be scheduled by selecting a future publication date before choosing Schedule. An edit to content that is already public needs more care because the current public version may need to remain visible until the replacement is approved.
Scheduling a new draft
The official Learn WordPress scheduling tutorial covers both posts and pages. The basic process is:
- Open the draft in the editor.
- Open the publication date and time setting.
- Select the required future date and confirm the site's time zone is correct.
- Select Schedule, then check the scheduled item in the Pages or Posts list.
WordPress uses the website's configured time zone, not necessarily the time shown on the editor's computer. Check Settings > General before scheduling time-sensitive content.
Scheduling an edit to an already-published page
Scheduling a draft is not the same editorial task as holding a revised version while the current page remains public. Do not move an important live page to a future publication date without first testing what the site's editor, plugins and workflow do with its status.
For a simple manual workflow, create a working copy by duplicating the WordPress page, edit and review that copy privately, then transfer the approved changes to the original page at launch time. A duplicate has its own record and potentially its own URL, so it does not replace the original automatically.
Sites that need recurring timed revisions should use a tested editorial or staging workflow that explicitly preserves the current public version. Record who approves the revision, when it should go live and who will verify it after publication.
Schedule new drafts normally, but treat future changes to already-published content as a separate revision workflow.
How do revisions help if an update goes wrong?
WordPress revisions retain earlier saved versions of supported page and post content, allowing an editor to compare changes and restore an older version. Revisions help with content recovery, but they are not a full backup of the website, database, media library or every plugin field.
What WordPress saves behind the editor
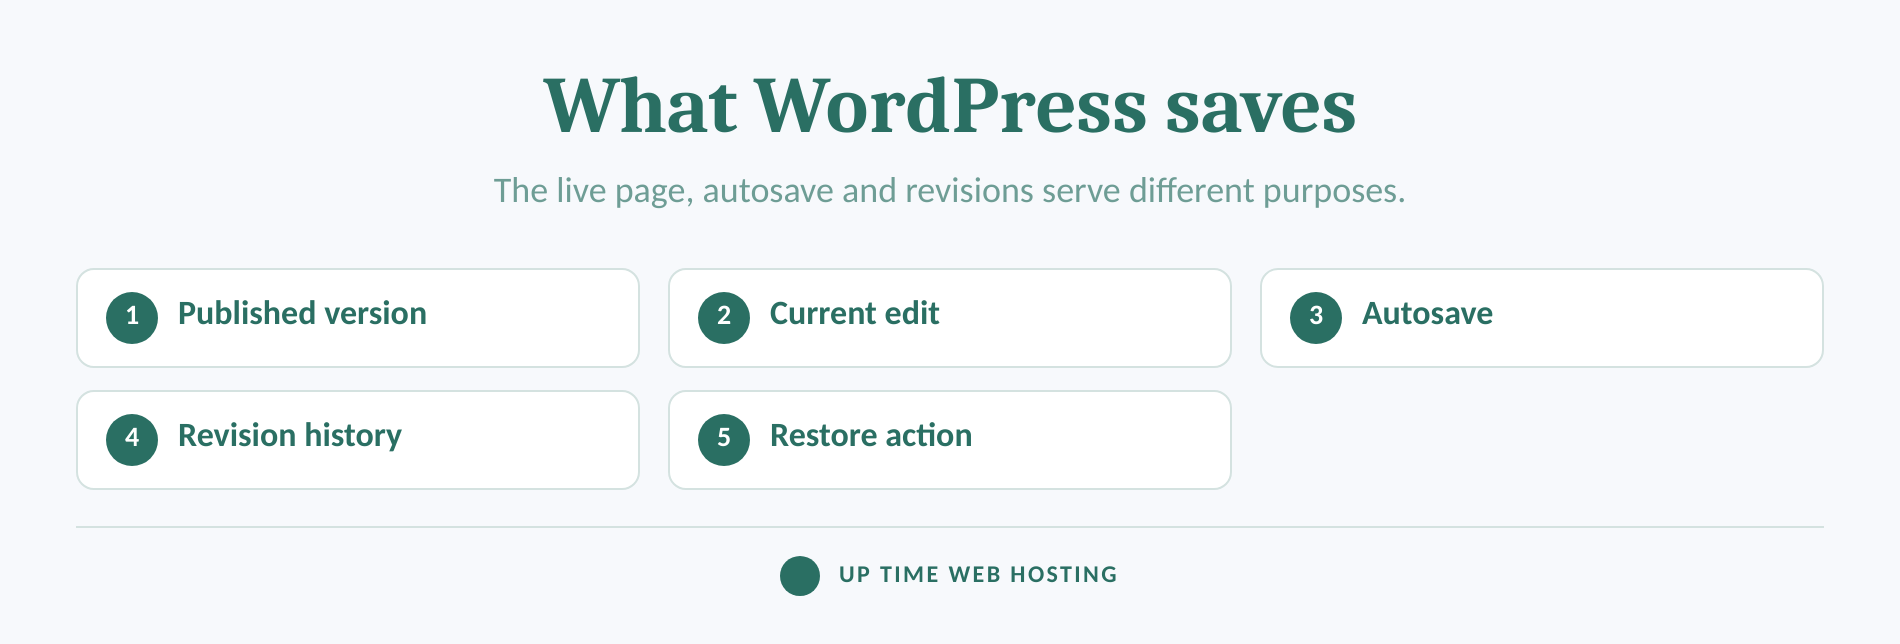
The WordPress.org revisions documentation, updated May 1, 2026, states that the revision system records saved drafts and published updates. WordPress also keeps a separate autosave for each user working on an item, and an autosave does not overwrite the published content.
To inspect or restore a revision:
- Open the affected page or post.
- Open the Page or Post settings sidebar.
- Select the number shown beside Revisions.
- Move through the available versions and compare the additions, removals and changed content.
- Select Restore when the correct version is found.
- Return to the editor, inspect the restored content and confirm the public page shows the intended version.
WordPress tracks core content fields by default, but a revision may not restore a page builder setting, form configuration, featured image or custom plugin data. Check the whole page after restoration instead of assuming every setting moved back with the text.
Revisions reduce recovery risk, but they do not replace a backup or a careful live-page check.
What should you check when the live page still looks old?
Start by confirming that WordPress completed the update, then check status, permissions, the URL and each cache layer. Changing more content before identifying the cause can create conflicting revisions and make a simple display problem harder to diagnose.
Check these in order
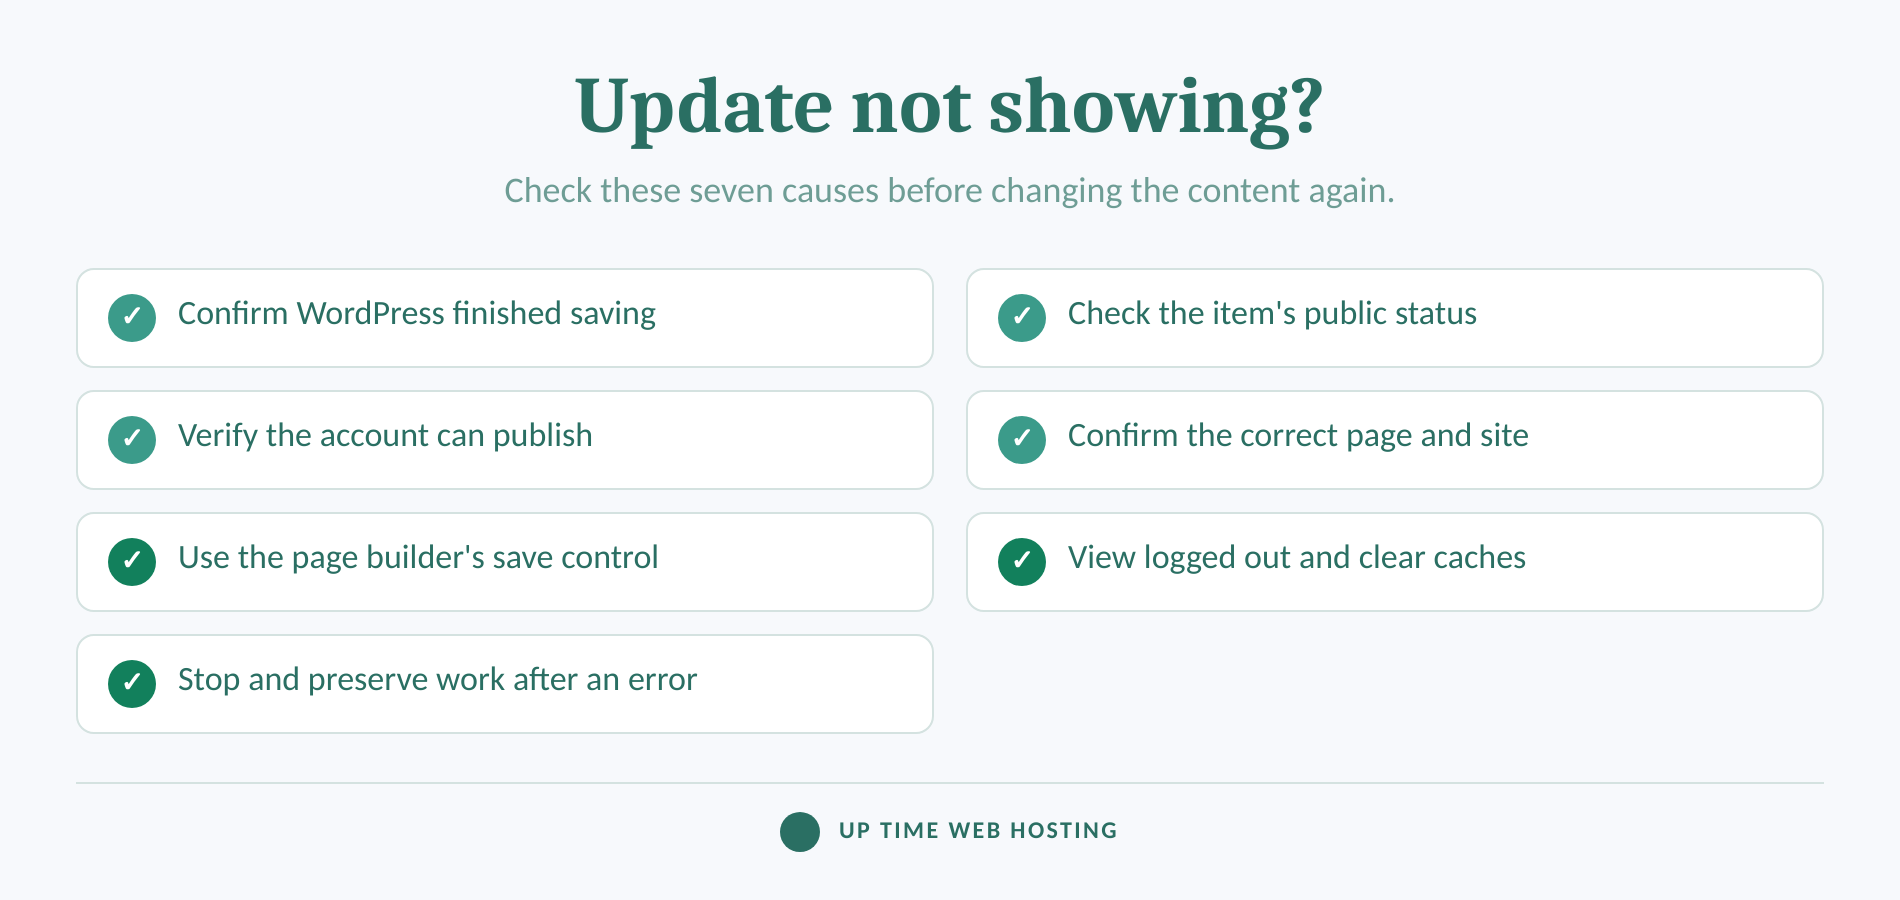
- Look for the success confirmation. If WordPress still shows Updating, an error banner or an unsaved indicator, the change may not have reached the server.
- Check the content status. A draft, private item, pending review item or scheduled item will not behave like an ordinary public page.
- Check the account permission. A missing Publish button or a Submit for Review button can indicate that the user can edit but cannot publish that content type.
- Confirm the item and environment. Make sure the edit was made on the live site, not a staging copy, duplicate, translation or similarly named page.
- Check the editing tool. A page builder or custom content type may require its own save control before WordPress receives the final content.
- Open the page logged out and clear caches. A logged-in administrator may receive a different cached response from an ordinary visitor.
- Stop if WordPress reports an error. Copy any unsaved text to a local document before retrying. Repeatedly submitting a request that returns a permission, security or server error can hide the original symptom.
If errors continue after the content and cache checks, use qualified WordPress maintenance support to review permissions, logs, plugins and the hosting cache rather than repeatedly editing the live page.
When WordPress says an update succeeded but visitors still see old content, verify permissions and clear caches before editing again.
Register your new domain name at competitive market prices including free domain add-ons like privacy, DNS Hosting, Custom Nameservers and Forwarding.
Always the best price and no nasty renewal price hikes.
Register A Domain Name
What else do new editors ask about publishing WordPress updates?
The common questions usually concern missing buttons, changes that do not appear and the difference between content publication and software updates. The following answers use the exact questions associated with this search topic.
Why are my WordPress changes not being published?
WordPress changes may fail to appear because the editor was not actually updated, the user lacks publishing permission, the wrong page was edited, a page builder has its own save control, or a cache is serving an older copy. Confirm the save message, view the correct URL logged out, then clear caches in order.
How do I Publish changes to a page in WordPress?
Open Pages or Posts in the WordPress dashboard, select the published item, make the edit and preview it. Click Update in the top-right corner, wait for the confirmation, then open the live URL in a new or private browser window to confirm the public version changed.
Does WordPress update automatically?
WordPress does not automatically publish ordinary content edits. A user with the required permission must select Update or Publish, unless the item was scheduled through an approved workflow. Software updates are separate: administrators can enable automatic updates for individual plugins and themes, as explained in the official WordPress auto-update documentation.
How do I Publish in WordPress?
For new content, open Posts or Pages, choose Add New, add the content, check visibility and the publication time, then click Publish and confirm the prompt. For content that is already live, open the existing item and click Update instead. Always view the public URL after saving.
Content publishing and WordPress software updates are separate workflows with different controls and risks.
Who should own this process when content changes are frequent?
Frequent website changes need one named owner for editing, approval, publication, verification and recovery. Clear ownership prevents two editors from replacing each other's work or assuming that somebody else checked the public page.
For businesses that do not want to manage updates, backups and monitoring internally, UpTime Web Hosting's Managed WordPress Maintenance plan covers managed software updates, security monitoring, incremental backups, uptime and performance tracking, daily content checks and periodic reporting.
Assign one owner to publishing, verification and recovery so content changes do not become guesswork.