You’ve finished the website on your laptop. The pages look right, the contact form worked in testing, and the folder on your desktop feels like the final version. Then you open cPanel for the first time and hit the same question a lot of Australian business owners hit: which files go where, and how do you upload them without breaking anything?
For a first migration, cPanel File Manager is usually the easiest path. It runs in your browser, you don’t need extra software, and for a standard brochure site, landing page, or small WordPress move, it’s often enough. If you’ve read about what FTP is, you already know there are more advanced ways to transfer files. But if your goal today is to get a site online cleanly, File Manager is a tool many can use with confidence.
Australian users do run into one extra wrinkle. Home and office NBN connections can be inconsistent, especially when you’re pushing lots of small files through a browser uploader. That doesn’t mean File Manager is the wrong choice. It means a tidy upload process matters more than people expect.
Table of Contents
- From Your Computer to the World Wide Web
- Preparing Your Website Files for a Flawless Upload
- The Core Upload Your Website in cPanel's File Manager
- Post-Upload Checks and Final Configuration
- Troubleshooting Common Website Upload Errors
- Your Website is Live What's Next

Performance you can feel, backed by clients who depend on it. Read how our support and uptime create long‑term customer success.Power Your Business with Better Hosting
From Your Computer to the World Wide Web
A common first upload looks like this. A café owner in Brisbane has a finished site from a local designer. The folder contains index.html, a CSS folder, some images, and a contact page. Everything works perfectly on the computer, but once cPanel opens, the file tree looks unfamiliar and the fear kicks in. One wrong click and the site might disappear.
That’s why uploading your website into cpanel using the file manager is such a practical starting point. It strips the job back to a few core actions: choose the correct folder, upload the packaged site, extract it, and confirm the homepage sits in the right location. No separate app. No connection settings. No need to learn an FTP client before lunch.
The part that catches most first-time users isn’t technical skill. It’s structure. People often upload the whole project folder instead of the contents of the website root, or they put files in the account home directory instead of the web-accessible one. Both mistakes are easy to fix once you know what you’re looking at.
The website only becomes visible to visitors when the right files are sitting in the correct document root.
If you’re moving a simple static site, the process is straightforward. If you’re moving WordPress, Joomla, or another CMS, there are a few extra checks after the upload. The file transfer is only one part of the job. The site also needs its database connection, permissions, and secure loading checked before it’s ready for customers.
Preparing Your Website Files for a Flawless Upload
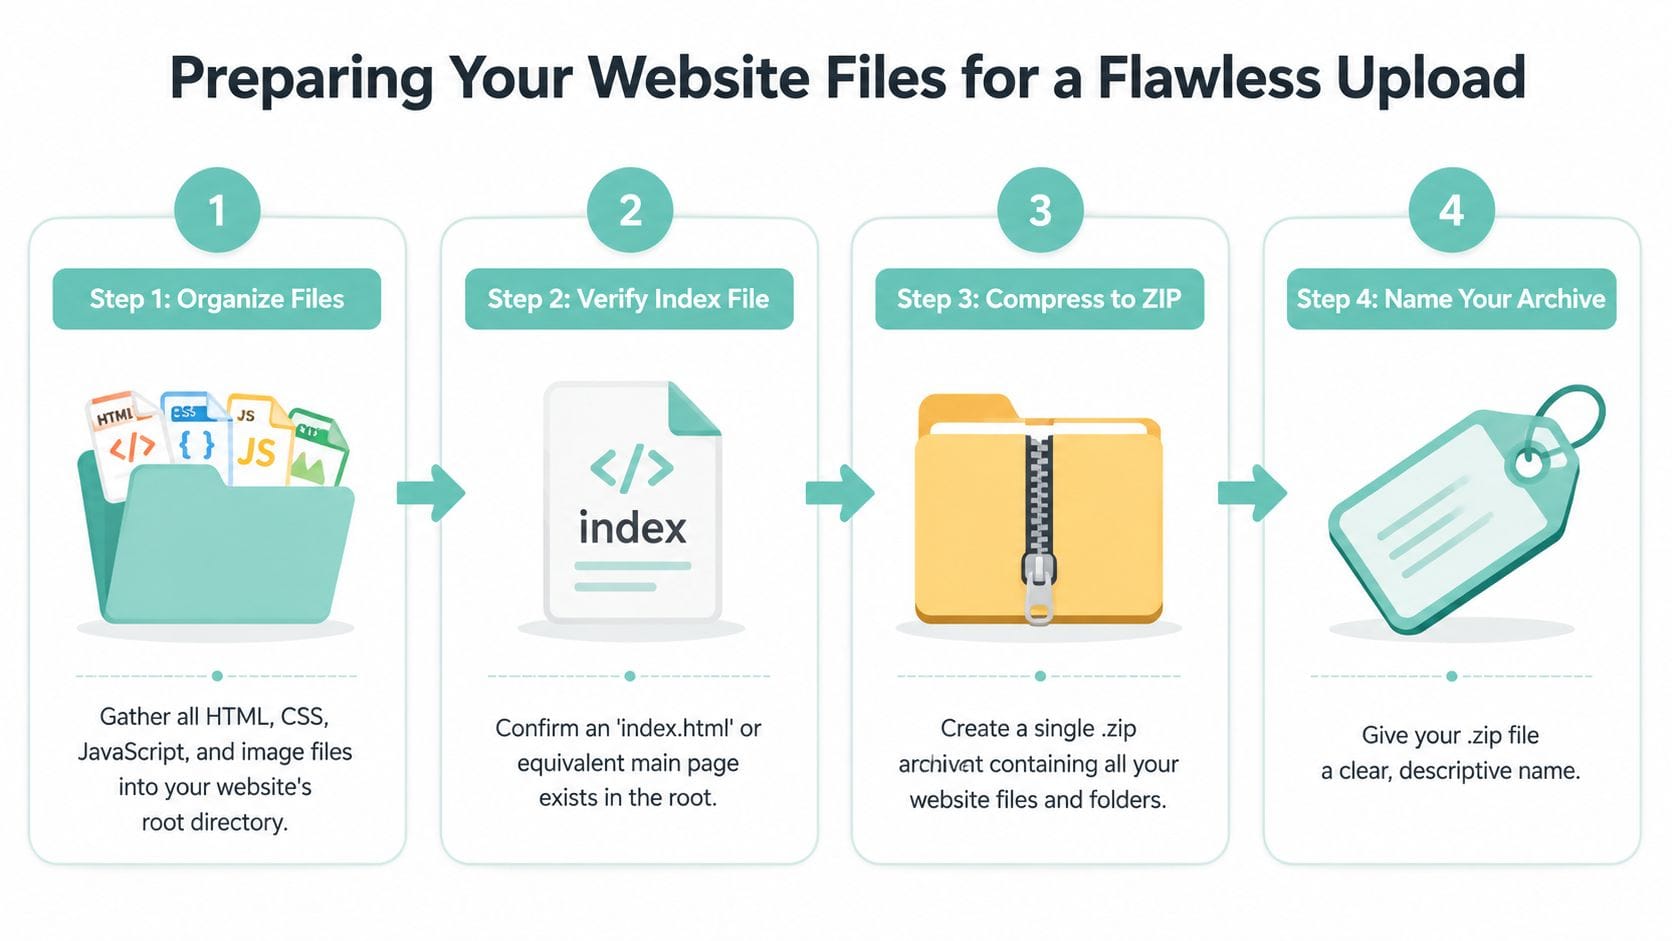
The biggest improvement you can make happens before you log in to cPanel. Don’t upload a loose collection of files one by one if you can avoid it. For Australian users on NBN, that approach is slower, more fragile, and more likely to fail halfway through.
Why the ZIP file matters
This is the part I consider essential. A single ZIP archive is cleaner to upload, easier to manage, and much less error-prone than hundreds of tiny files moving through a browser tab.
For Australian hosting environments, that matters even more. File Manager uploads average 2-5 MB/s on standard Australian NBN connections, while compressing files into one ZIP file and uploading that archive can reduce upload time by approximately 60-70% and significantly lower the chance of connection failures, according to this cPanel upload guide with performance notes.
Here’s the practical difference:
- Many small files: each file has to queue through the web interface, which creates extra overhead
- One ZIP archive: one upload, one extraction, far fewer points of failure
- Messy transfer sessions: easier to miss hidden files, scripts, or image folders
- One packaged site: easier to confirm you uploaded the correct build
Practical rule: If the site has lots of images, theme files, plugins, scripts, or exported assets, compress it before you touch File Manager.
What to check before you compress
Before creating the ZIP, make sure the folder is organised properly. The contents of your website root matter more than the name of your local project folder.
Check these items:
- Homepage file exists: for a static site, that usually means
index.htmlorindex.phpis in the root of the site files - Assets are relative and complete: your
css,js,images,fonts, orassetsfolders should be inside the same root structure - No clutter from development: remove duplicate exports, old backup copies, and folders that aren’t part of the live site
- CMS config files are present: if you’re moving WordPress, confirm files like
wp-config.phpare there, because you may need to edit them later - Backup first: before changing anything, create an account or site backup so you’ve got a rollback point. UpTime customers can follow the cPanel full backup guide in the knowledge base
A quick example helps here. If your desktop folder is called new-site-march, and inside that folder is another folder called website-files, and only that second folder contains index.html, you need to know that before uploading. If you compress the wrong level, extraction can create an unnecessary extra folder layer online.
How to create the ZIP on Windows and Mac
On Windows, open the main website folder, confirm you’re looking at the site root, then right-click the selected files or folder and choose the ZIP option from the send/compress menu.
On macOS, select the website folder in Finder, right-click, and choose Compress. macOS will create a .zip archive in the same location.
Keep the filename simple and descriptive. Something like business-website.zip or march-site-upload.zip is easier to identify later in File Manager than final-final-new-2.zip.
A good archive usually has:
| Check | What you want |
|---|---|
| Root content | index.html or index.php visible at the top level |
| Folder names | Short, clear, no random duplicates |
| File naming | Standard letters, numbers, hyphens |
| Archive format | .zip |
If you prepare the file properly, the actual cPanel upload is usually the easy part.
Host your website with our 5-star rated, cPanel website hosting plans.
Super fast servers, with security included and hosted in your choice of Australian Data Center.
View cPanel Plans
The Core Upload Your Website in cPanel's File Manager
Once your ZIP file is ready, the rest becomes a placement job. The goal isn’t merely to upload files. The goal is to put the correct site files into the correct web directory so the server knows what to show visitors.
For UpTime customers using cPanel, the guide to using cPanel hosting tools is a handy reference if you’re still getting familiar with the interface.
Open File Manager and find the right folder
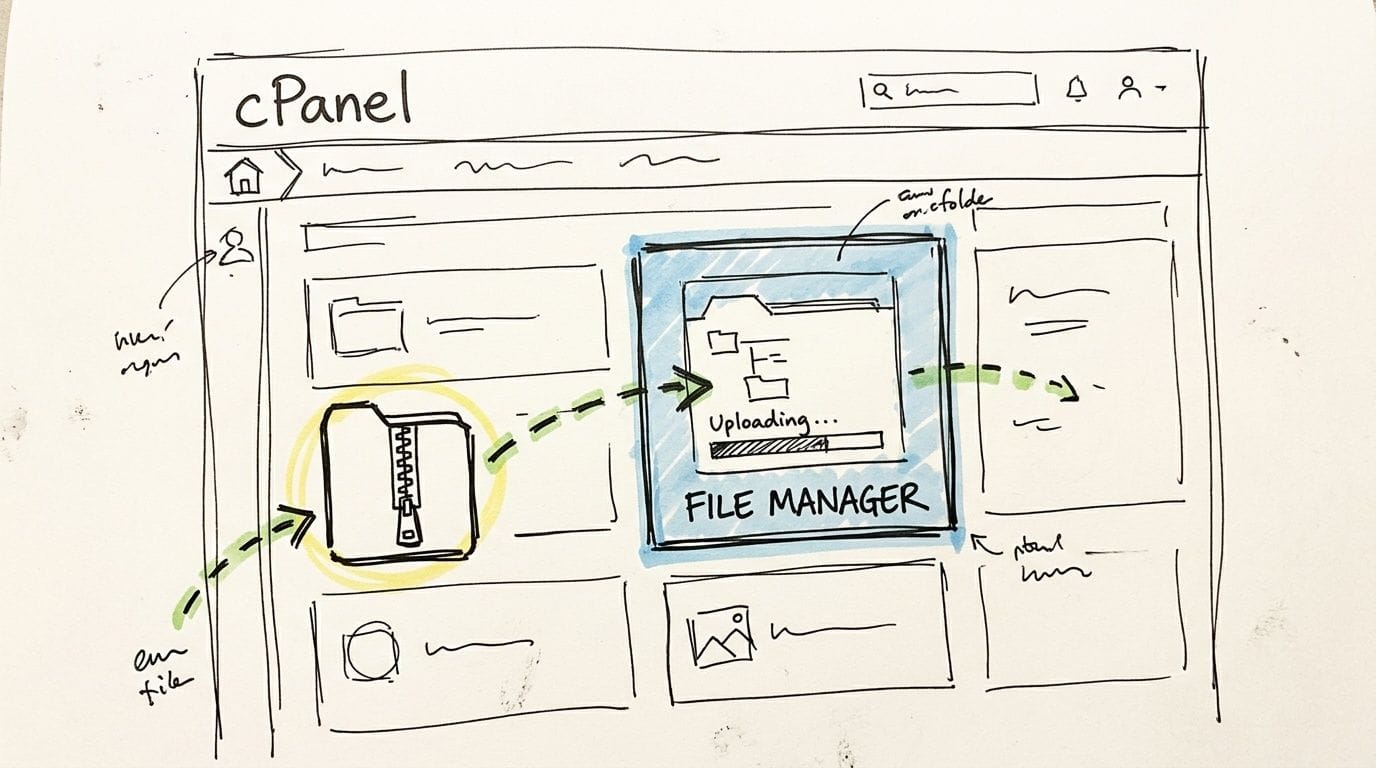
After logging in to cPanel, open File Manager. You’ll usually land in the home directory. That’s where many beginners make their first mistake. The home directory contains account files, but it isn’t automatically where your public website loads from.
For the main website on your hosting account, the usual document root is public_html.
That means:
- Open File Manager.
- In the left-hand folder tree, click
public_html. - Confirm you’re inside the web root before uploading anything.
If you upload to the wrong place, the files may exist on the server but never appear on your live site.
Primary domain, addon domain, and subdomain
Not every site uses the same folder path, which often causes confusion, especially for businesses running a main site plus a campaign microsite or a staging area.
Use this as your quick reference:
| Site type | Typical location |
|---|---|
| Primary domain | public_html |
| Addon domain | Its own assigned document root |
| Subdomain | Often a subfolder tied to that subdomain’s document root |
If your main business website is yourdomain.com.au, its files normally belong in public_html.
If you’ve added another domain to the account, cPanel may assign a separate folder for that site. Don’t assume every domain shares the same root.
If you created something like shop.yourdomain.com.au, that subdomain usually points to its own folder. Check the document root inside cPanel before uploading. A lot of “my site doesn’t load” tickets come down to using the main domain folder for a subdomain site.
When the website appears blank or unchanged after an upload, the first thing to check is the document root, not the code.
Upload the ZIP and extract it properly
Once you’re in the correct folder:
- Click Upload in the top menu.
- Drag your ZIP file into the upload area, or choose it from your computer.
- Wait for the upload to complete.
- Return to File Manager.
- Select the uploaded ZIP file.
- Click Extract.
- Confirm the extraction path is the current document root.
This server-side extraction is the step that turns one archive into your full site structure.
A few practical habits help here:
- Upload only the ZIP first: it’s easier to verify one file than dozens of loose uploads
- Watch the filename carefully: make sure you’re extracting the latest archive, not an older test version
- Extract into the live folder only when ready: if you’re replacing an existing site, double-check your backup before overwriting files
- Delete the ZIP after success: once you’ve confirmed the site works, remove the archive so the directory stays tidy
Fix the common nested-folder problem
This is the issue I see most with first-time uploads. You extract the ZIP into public_html, then browse the site and get a directory listing, a server page, or an old homepage. Why? Because the actual files ended up one folder too deep.
Example:
- You upload
website.zip - You extract it in
public_html - Extraction creates
public_html/website/ - Your
index.htmlis now insidewebsite/, not directly inpublic_html
In that setup, the server doesn’t find the homepage where it expects it.
The fix is simple:
- Open the extracted folder.
- Select the actual site files inside it.
- Move those files up into
public_html. - Remove the now-empty extra folder.
The key is this. Visitors shouldn’t need your local project folder name in the URL just to load the homepage. The root content itself must sit in the active document root.
Here’s a clean final structure for a basic site:
public_html/index.htmlpublic_html/about.htmlpublic_html/css/public_html/js/public_html/images/
And here’s the structure that usually causes problems:
public_html/website/index.htmlpublic_html/website/css/public_html/website/images/
That second layout can work only if the domain is meant to load from website/. For a standard main site, it usually isn’t.
Post-Upload Checks and Final Configuration
Getting the files onto the server is the middle of the job, not the end. At this stage, the checks split into two paths. A static website needs a lighter review. A CMS site such as WordPress needs database and configuration work before it can load properly.
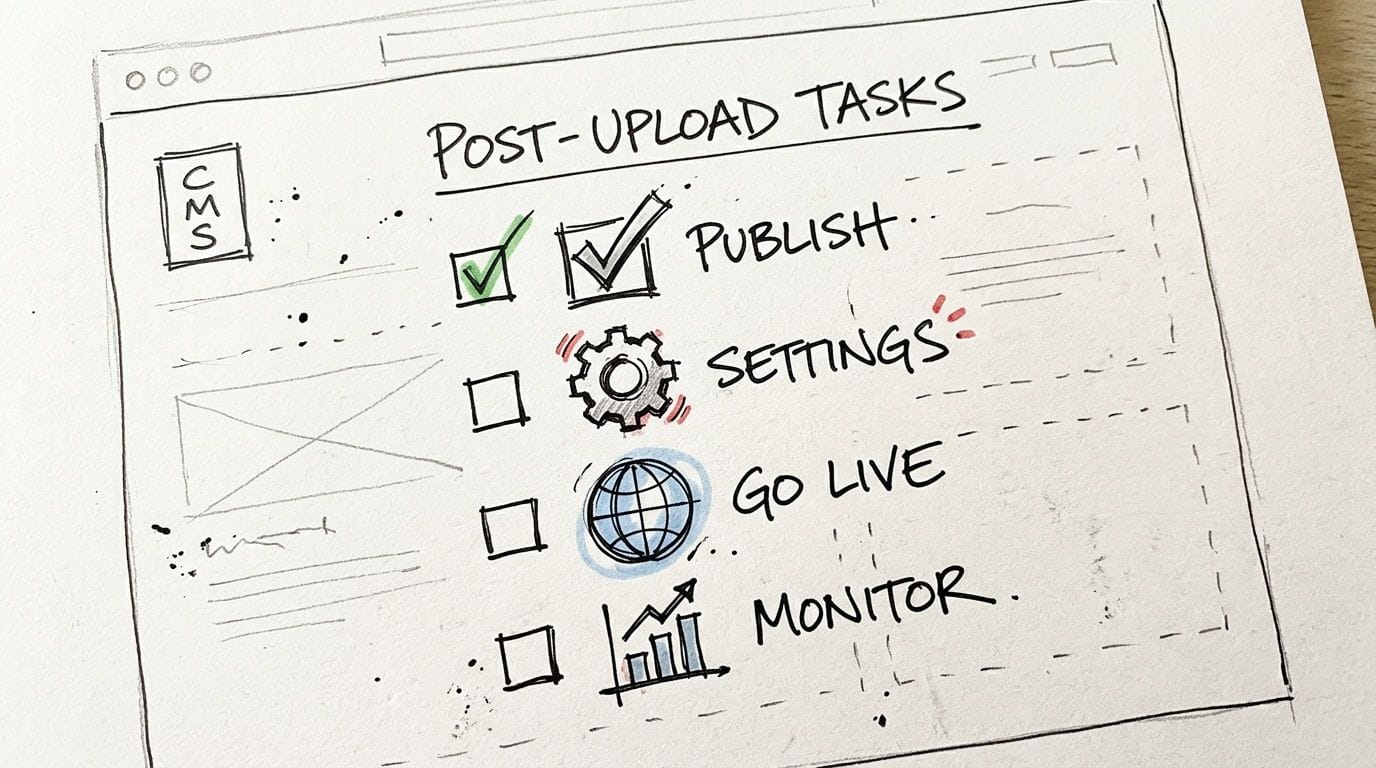
If your site is static
A static site usually consists of HTML, CSS, JavaScript, images, and perhaps a few downloadable files. Once extracted into the correct root, testing is fairly direct.
Check these items first:
- Homepage loads: visit the domain and confirm the correct page appears
- Navigation works: click through the main menu and footer links
- Images display properly: broken image icons often point to missing folders or incorrect paths
- Forms behave as expected: if the form relies on server-side processing, confirm the receiving script was uploaded too
If the site loads over plain http but not https, it’s time to review SSL. UpTime customers can use the SSL set-up checklist for cPanel to confirm the certificate is active and the site is serving securely.
If your site uses WordPress or another CMS
A CMS migration adds another layer because the site doesn’t run from files alone. It also needs a database and valid credentials inside the config file.
A practical sequence looks like this:
- Create a new database in cPanel using the MySQL Database Wizard.
- Create a database user and assign that user to the database.
- Import your database backup through phpMyAdmin.
- Open the site’s configuration file in File Manager.
- Replace the old database name, username, password, and host details with the new account values.
- Save the file and test the site.
For WordPress, the file you’ll usually edit is wp-config.php. If those credentials don’t match the new hosting environment, WordPress won’t connect to the database and the site won’t load correctly.
A white page or database connection error after migration usually points to configuration, not the upload itself.
If the site opens but internal links or media paths look wrong, review the application’s site URL settings. That’s common when a site was built on a temporary address or moved from a local environment.
Once the site is loading, it’s worth doing a basic technical review before promoting the launch. If you want a broader checklist for crawling, indexability, on-page issues, and post-launch clean-up, Ascendly Marketing's guide to SEO audits is a useful reference for spotting things that often get missed after a migration.
Set sensible permissions and test the live site
Permissions matter because they affect both security and whether the web server can read your files correctly. For most standard setups, the practical defaults are:
| Item | Common permission |
|---|---|
| Folders | 755 |
| Files | 644 |
In File Manager, you can right-click a file or folder and choose Change Permissions. If folders are too restrictive, the server may not access needed content. If they’re too open, you create unnecessary risk.
Focus on these final checks before calling the job done:
- Folder permissions: set standard web folders to
755 - File permissions: set normal web files to
644 - Homepage test: open the domain in a fresh browser tab
- Mobile check: test on a phone, not just your office desktop
- Secure version: confirm the site resolves cleanly over
https:// - Admin access: for CMS sites, log in to the dashboard and confirm plugins, themes, and media are visible
One more habit is worth keeping. After a successful upload, tidy the web root. Delete old archives, duplicate folders, and anything that shouldn’t sit in a public directory. Clean hosting accounts are easier to maintain and much easier to troubleshoot later.
Troubleshooting Common Website Upload Errors
Even a careful upload can go sideways. The good news is that most first-launch issues come from a short list of causes, and they’re usually fixable without rebuilding the site from scratch.
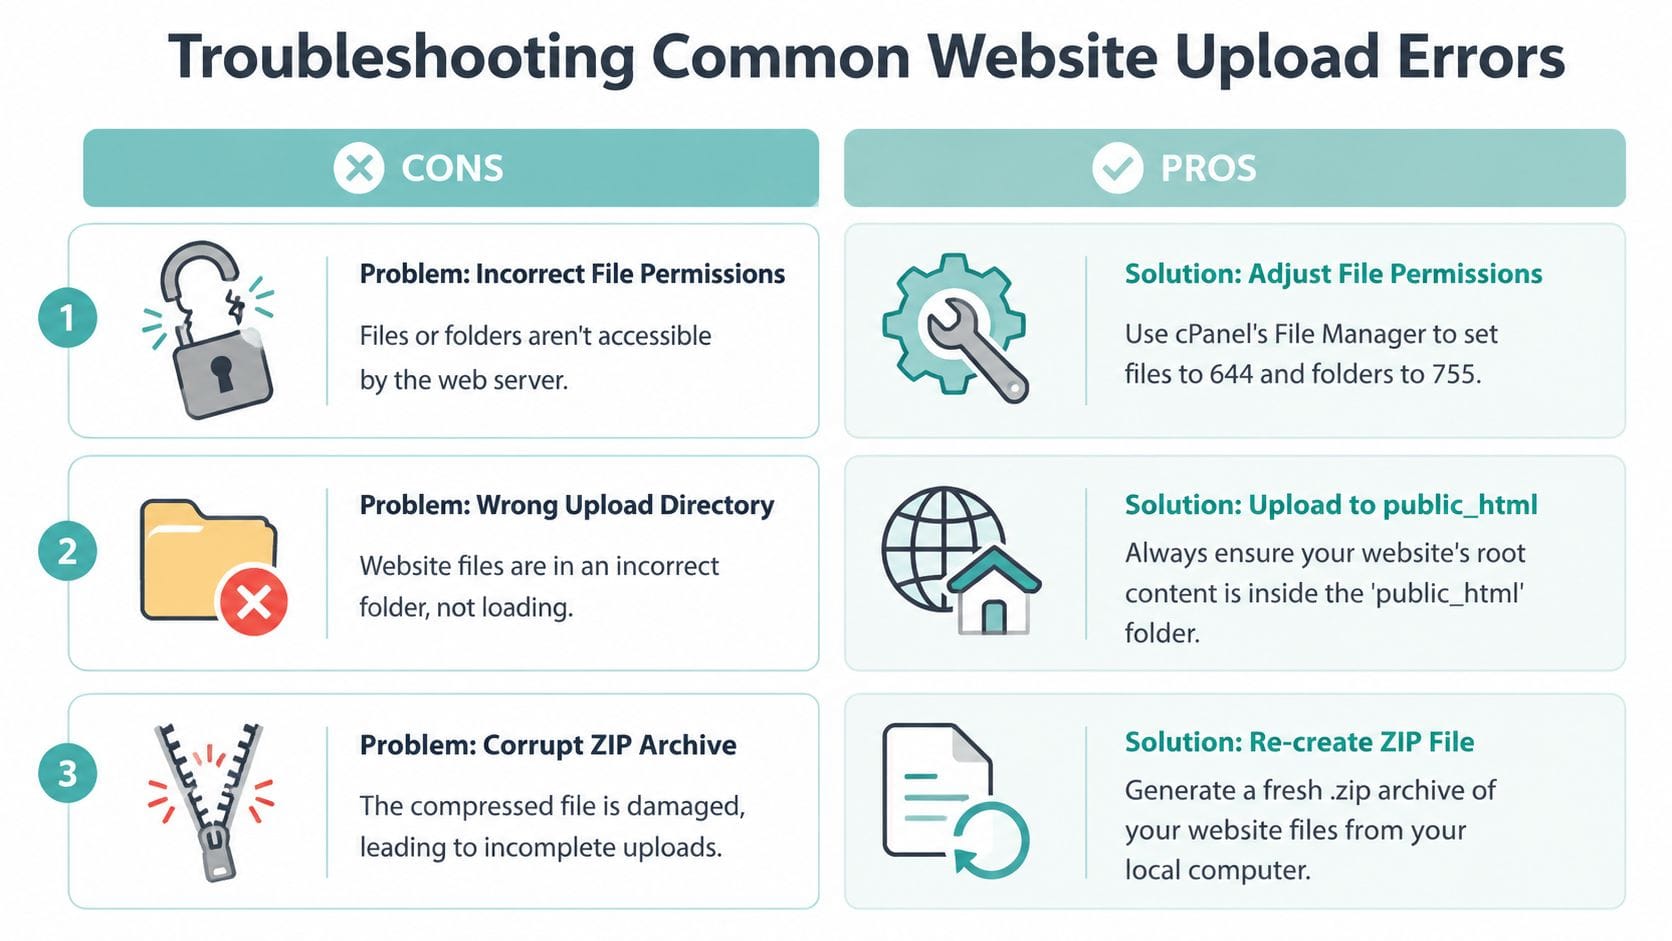
The homepage won't load properly
If visitors see a file listing, a default server page, or the wrong version of the site, look at the file location first. The homepage file is often buried inside an extra folder created during extraction.
If the page is completely blank, especially on a CMS site, check the configuration file and the server error details. Incorrect database credentials are a common cause after migration.
A quick fault list helps:
- Directory listing instead of a website:
index.htmlorindex.phpisn’t in the active document root - Old site still appearing: files were uploaded into the wrong folder or browser cache is showing an old copy
- Blank white page: PHP or application error, often related to config or missing components
Images, links, or styling are broken
When the homepage loads but the design looks unstyled, the issue is often path-related. CSS, JavaScript, image folders, or media URLs may be pointing to the wrong location.
Check whether:
- Asset folders were extracted properly: missing
css,js, orimagesfolders will break the layout - Case matches exactly:
Imagesandimagesaren’t the same on many hosting environments - CMS site URLs are correct: migrated sites sometimes still point to an old local or staging address
Also review permissions if specific files won’t load. If you need to check upload-related limits in your hosting environment, the PHP max upload limit article in the knowledge base is a useful starting point.
The upload is too slow or keeps failing
File Manager demonstrates its limitations. Many tutorials recommend it for small sites and point out that larger sites upload faster using FTP. That’s especially relevant for Australian users. Local server proximity can help, but FTP remains the better choice for bulk transfers, particularly when browser-based uploaders are affected by latency, as noted in this discussion of File Manager versus FTP for larger uploads.
If the upload keeps stalling, try this sequence:
- Rebuild the ZIP file locally in case the archive is damaged.
- Confirm you’re uploading a single archive, not hundreds of loose files.
- Retry from a stable connection if your office NBN is fluctuating.
- If the site is large or media-heavy, switch to FTP or SFTP.
Browser uploads are convenient. They aren't always the strongest option for large transfers.
The most important thing is knowing when to stop forcing File Manager to do a job better handled by another tool. For a compact site, it’s excellent. For a bulky migration with large media libraries, FTP or SFTP usually saves time and frustration.
Register your new domain name at competitive market prices including free domain add-ons like privacy, DNS Hosting, Custom Nameservers and Forwarding.
Always the best price and no nasty renewal price hikes.
Register A Domain Name
Your Website is Live What's Next
Once the homepage loads, the forms behave, and the secure version of the site is working, the hard part is done. You’ve taken a local project and turned it into a public website using a tool that most business owners can manage without needing a developer’s workflow.
The method works best when the preparation is tidy. Compress the site properly, upload to the correct document root, extract carefully, then check configuration and permissions before announcing the launch. Most upload problems come from rushing one of those steps.
After that, keep the account organised. Remove leftover ZIP files, store backups safely, review email setup if the domain is new, and test the site from more than one device and connection. If the website is a CMS, keep an eye on plugins, themes, and any settings that still reference the old environment.
If you need Australian hosting with cPanel, local servers, and a support team that understands the practical issues small businesses run into during first migrations, UpTime Web Hosting is a solid place to start. You can host a simple business site, WordPress install, email, or a larger project on local infrastructure with help available when you need it.