
Learning how to set a signature in Outlook is pretty straightforward. You just need to jump into the signature settings within your Outlook application—whether that’s on your desktop, the web, or your phone—and then create a new one with your text, links, and images. It’s a small action, but it makes every email you send look instantly more professional.
Why Your Outlook Signature Is Your Digital Handshake

Think of your email signature as more than just your name and job title. It's your digital business card, a consistent sign-off that builds trust and quietly reinforces your professional brand with every single message you send.
A well-organised signature does a lot of heavy lifting in the background. For small business owners especially, this little piece of email real estate is a critical touchpoint for building brand recognition and driving engagement without being pushy.
Turning Your Signature into a Valuable Asset
A thoughtfully crafted signature provides immediate value to your recipients. It answers key questions before they're even asked, making it far easier for people to connect with you or your business.
Just think about what your signature can accomplish:
- Drives Traffic: Pop in a direct link to your website, blog, or a specific landing page you want to highlight.
- Promotes Services: Add a short, compelling line about a new service or a current promotion you’re running.
- Builds Credibility: Display professional affiliations, industry certifications, or any recent awards you've won.
It provides all the necessary contact information in one neat package, saving your recipients the hassle of having to look you up.
The Growing Importance of Digital Professionalism
Here in Australia, the digital signature market is expanding rapidly. It generated USD 117.1 million in the last year alone and is forecasted to soar to USD 891.1 million by 2030. This massive growth shows just how central these digital tools are becoming to everyday business operations.
For small to medium businesses that rely on professional email, a polished signature is a fundamental part of this shift.
A professional email signature is no longer just a nice-to-have; it's an essential component of your brand identity. It communicates professionalism and attention to detail before your recipient even reads your message.
Mastering this simple Outlook feature ensures every communication from your business email is polished and purposeful. If you're just getting started, our guide on how to set up a business email is the perfect first step.

Performance you can feel, backed by clients who depend on it. Read how our support and uptime create long‑term customer success.Power Your Business with Better Hosting
Setting Up Signatures in Outlook for Windows and Mac
Your desktop is where you'll build the most detailed version of your signature. While the process is a little different between Windows and Mac, the core idea of creating, assigning, and managing your signatures is pretty much the same on both.
Navigating the Outlook for Windows Signature Editor
On a Windows machine, getting to the signature settings is just a quick trip through the options menu. Think of it as the central hub where you can create different versions of your signature for various situations, like a full-blown signature for new emails and a shorter, snappier one for replies.
To get started, open up Outlook and follow these steps:
- Click File in the top-left corner.
- Choose Options from the menu on the left.
- In the pop-up window, click on the Mail tab.
- Finally, hit the Signatures button to open the editor.
This is your main control panel for everything to do with your desktop signatures.
Creating Your First Signature on Windows
Once you’re looking at the "Signatures and Stationery" window, you're ready to build. Let's say you're a business owner wanting to create a professional sign-off with your company logo and a link to your new website.
First, click New and give your signature a name you'll remember, something like "Full Business Signature". In the edit box below, you can type in your details – name, title, company, the works. To add your logo, just click the little image icon and find the file on your computer.
Next, you'll want to make your website address clickable. Highlight the text (e.g., "www.yourwebsite.com.au") and click the hyperlink icon to add the link. This is a simple but crucial step to drive traffic directly to your site.
The real power here is being able to assign different signatures for "New messages" and "Replies/forwards".
It’s a common professional touch to use a more streamlined signature for replies. You could create another one called "Reply Signature" that just has your name and phone number, leaving out the logo. This keeps long email chains much cleaner and easier to read.
Finding the Signature Settings in Outlook for Mac
Mac users will find the process just as easy, though the menus are in a different spot. True to macOS design, the settings are tucked away in the app's menu bar at the top of the screen.
Here’s how to find the signature settings on a Mac:
- With Outlook open, click Outlook in the top menu bar (right next to the Apple icon).
- Select Settings from the dropdown menu.
- In the window that pops up, click on Signatures.
This brings you to a similar editing screen as the Windows version, where you can get to work crafting and managing all your signatures.
Pro Tip: When you add a logo, always use a web-optimised image file like a .PNG or .JPG. Make sure the file size is small. A huge, high-resolution image can make your emails massive, and some email servers might even block them.
After you've created your signature, the final step is to assign it to your email account. If you're juggling multiple mailboxes—say, a personal one and a business one—you can set up unique signatures for each. This ensures the right branding is automatically applied depending on which email address you're sending from.
If you need a hand setting up extra accounts, check out our guide on how to add a mailbox in Outlook.
Configuring Signatures for Web and Mobile Devices
Let's be honest, we're not always chained to our desks. A professional signature needs to follow you, whether you're firing off a quick reply from your phone or using a browser on a different computer. Setting up your signature in Outlook on the web and on mobile is key to keeping your branding consistent, no matter where you are.
The web version, often called Outlook on the Web (or OWA), is surprisingly powerful. Signatures you create here can sync across your Microsoft 356 account, which means less time spent copying and pasting the same details on different machines.
Setting Your Signature in Outlook on the Web
If you've set up a signature on the desktop app, the web version will feel very familiar. The process is straightforward: dive into the settings, find the signature editor, and you can craft a proper HTML signature with links, formatting, and all the trimmings.
This simple flowchart shows you exactly where to look in Outlook's web interface.
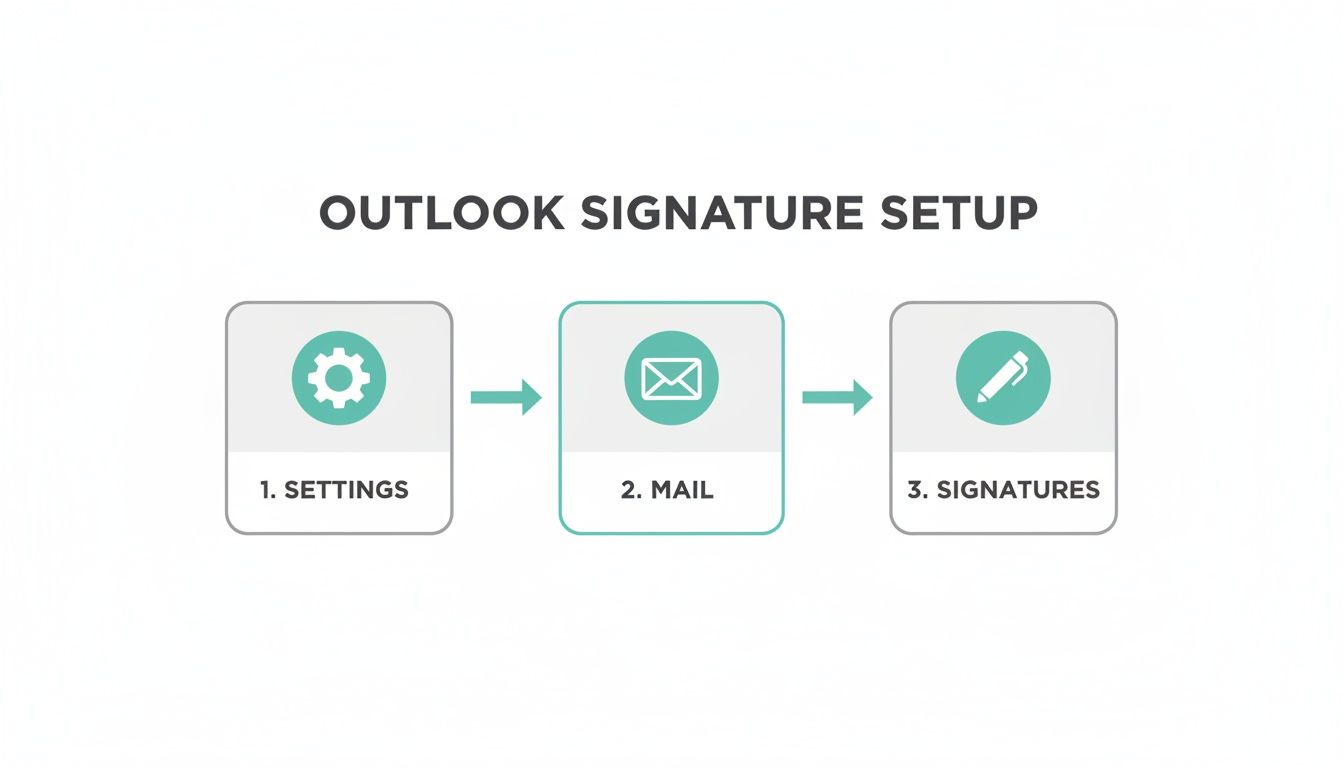
As you can see, the path is usually Settings > Mail > Compose and reply. Once you're there, you can create a few different signatures and even choose which one to use for new emails versus replies and forwards. It’s a handy feature.
This focus on a polished digital presence is more than just a trend. The Australian digital signature market is booming, with projections showing a massive 30.33% growth rate through 2033. For local businesses, a sharp email footer isn't just a nice-to-have; it's a part of modern professional communication.
Tackling Signatures on Mobile Devices
Mobile is a different beast altogether. That beautiful, logo-rich signature from your desktop? It can look like a mess on a small phone screen, forcing people to scroll and scroll just to read your message. The goal on mobile should always be clarity and brevity.
The Outlook mobile apps for iOS and Android have their own signature settings, and this is where things can get tricky. Unfortunately, they don't automatically pull in the complex HTML signatures you built on your desktop or the web. You have to set them up separately.
Our advice for mobile? Less is more. Go for a clean, text-only signature. It should provide just the essential info without taking over the email. It’s about respecting the fact that your recipient is likely reading on the go.
The best practice is to create a stripped-back version of your main signature specifically for mobile. Here are a few real-world examples that work well:
The Minimalist:
- Jane Smith | Director
- P: 0400 123 456
The Action-Oriented:
- John Doe | UpTime Web Hosting
- Need Help? Call our 24/7 Support Team
The Direct Link:
- Sarah Chen | Lead Developer
- View my latest project: yourportfolio.com.au
These work because they’re short, scannable, and don't rely on images or complex layouts that can break on different mobile email clients. If you're using cPanel email with your hosting, getting this set up correctly is crucial for a professional look. We have a guide that shows you how to connect Outlook Mobile to your cPanel email account right in our knowledge base.
Outlook Signature Features Across Platforms
It's clear that what you can do with your signature varies a lot depending on which version of Outlook you're using. The desktop versions offer the most power, while mobile is much more basic.
Here's a quick comparison to help you see the differences at a glance.
| Feature | Outlook for Windows | Outlook for Mac | Outlook on the Web | Outlook Mobile (iOS/Android) |
|---|---|---|---|---|
| HTML Support | Full (images, links, formatting) | Full (images, links, formatting) | Rich text (images, links, basic formatting) | Text-only (hyperlinks supported) |
| Multiple Signatures | Yes | Yes | Yes | No (one per account) |
| Set Different Replies | Yes | Yes | Yes | No |
| Syncing | Limited (local to the machine) | Limited (local to the machine) | Yes (syncs across web) | No (device-specific) |
Ultimately, understanding these limitations helps you create signatures that look great and work perfectly, no matter how you're sending your emails. A little planning goes a long way.
Host your website with our 5-star rated, cPanel website hosting plans.
Super fast servers, with security included and hosted in your choice of Australian Data Center.
View cPanel Plans
Creating Advanced HTML Signatures with Logos and Links
Ready to move beyond plain text? An HTML signature completely transforms your sign-off. It stops being a simple farewell and becomes a dynamic, interactive part of your email. This is where you can truly embed your brand by adding a logo, clickable social media icons, and even a professional headshot.
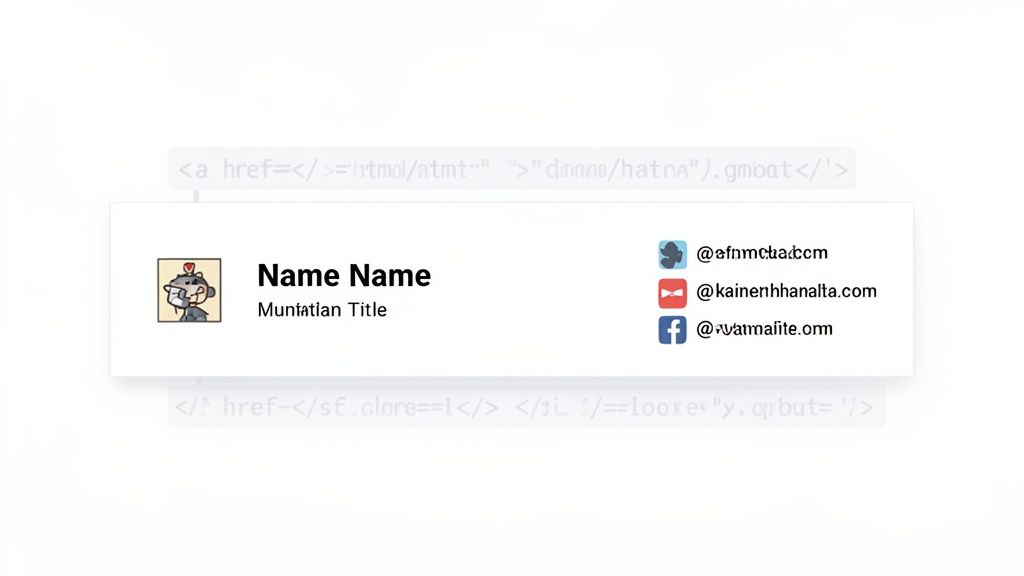
The good news is you don't need to be a coding whiz to get this done. Plenty of online signature generators can help you create a slick design. Once you're happy with it, you just copy the HTML code they provide and paste it directly into Outlook’s signature editor. It's often the easiest way to get a polished look without wrestling with the code yourself.
Embedding Images the Right Way
One of the most common frustrations I see is a beautifully designed signature where the company logo shows up as an attachment, cluttering the recipient's inbox. This almost always happens when you copy and paste an image directly into the signature box. The proper method sidesteps this problem entirely.
Instead of embedding the image file itself, you need to host it online. Think of it this way: your image should live on a web server—like the one hosting your website—and you'll simply reference it using its full URL.
This small but crucial change tells the recipient's email client to load the image from the web, not from the email itself. It’s the secret to keeping your signature clean and professional. Our knowledge base has a helpful article that explains more about how to add an image in HTML for a website, and the exact same principle applies here.
A Simple HTML Template You Can Use
You really don't need overly complicated code for a great-looking signature. Here is a basic, table-based HTML structure that does a fantastic job of keeping your image and text neatly aligned. Just paste this into a plain text editor, swap out the placeholders with your own details, and then copy the final result into Outlook.
 | Your Name Your Title 02 1234 5678 |
A Quick But Important Reminder: Always use absolute URLs (the full address starting with
https://) for all your links and images. Relative links (like/logo.png) will break because the recipient's email client has no idea where to find your website's files. It’s a common pitfall that’s incredibly easy to avoid once you know about it.
For those looking to add an even more personal touch, a high-quality headshot can add a significant level of professionalism. It's now easier than ever to figure out how to use AI for professional headshots that look fantastic. Just be sure the image is optimised for the web to avoid slow-loading emails—a good rule of thumb is to keep the file size under 50KB. A massive image can make your signature a burden rather than a benefit.
Signature Best Practices and Common Mistakes to Avoid
Creating an email signature that actually works for you is a bit of a balancing act. The real goal is to provide genuinely useful information without overwhelming or distracting the person you're emailing. A great signature is simple, functional, and consistently professional no matter who you're talking to.
Think of your signature as prime advertising real estate that costs you absolutely nothing. It needs to be concise and serve a purpose. Every single element, from your name to your phone number, should be there for a reason. If it doesn't add value, it’s just digital clutter.
Key Principles for a Great Signature
A top-tier signature follows a few simple, non-negotiable rules. The most important one? It absolutely must be mobile-friendly. A huge chunk of emails are read on phones these days, and a signature packed with big images or complex columns is going to look like a train wreck on a small screen.
Here are the essential "dos" I always recommend:
- Keep it brief: Stick to the essentials—your name, title, company, and maybe one or two key ways to get in touch.
- Use simple formatting: Settle on one or two professional fonts and limit your colours to match your company's branding. Less is more.
- Link strategically: A link to your website or LinkedIn profile is great. A whole row of social media icons? Not so much.
- Optimise your images: If you must include a logo, make sure it’s a small file size (aim for under 50KB) and hosted online. This stops it from showing up as a clunky attachment.
Common Mistakes That Undermine Professionalism
It's just as important to know what not to do. A poorly designed signature can actively damage your credibility, making you look unprofessional. Even worse, it can get your emails sent straight to the spam folder. Broken image links or stuffing it with too many hyperlinks are classic spam filter triggers.
One of the most common pitfalls I see is overstuffing. People feel the need to include inspirational quotes, animated GIFs, or their entire digital address book. Resist the urge. Simplicity signals confidence and professionalism.
Be sure to watch out for these all-too-common errors:
- Too many colours and fonts: This just makes your signature look chaotic and almost impossible to read.
- Including your email address: It’s completely redundant. The recipient already has it from the "From" field.
- Using large, high-resolution images: This blows out email load times and can even get your message blocked by some email servers.
- Adding distracting animations: Animated elements are unprofessional and, frankly, aren't supported by most email clients anyway.
Ultimately, a clean, well-thought-out signature contributes to better email engagement. It should make it easier for people to connect with you, not harder. If you want to be sure your messages are landing in inboxes, you can learn more by checking the health of your email deliverability.
Got a Problem With Your Outlook Signature?
Even after following all the steps, you can still hit a few snags with email signatures. It happens to the best of us. Let's walk through some of the most common issues we see and get them sorted out so your signature looks professional every time.
Why Does My Signature Look Different When I Reply to an Email?
This is a classic, and thankfully, the fix is usually straightforward. Outlook has a neat little feature that lets you set one signature for brand 'New messages' and a different one for 'Replies/forwards'. People often use a more streamlined version for replies.
If you want your signature to look the same every time, just jump back into your signature settings and make sure you’ve selected the same signature for both options. Easy.
There's another culprit, though. Sometimes the person you're emailing has their client set to "plain text only." This setting ruthlessly strips out all formatting—logos, links, fancy fonts, the lot. It’s a good reminder that your signature should still make sense and look professional even when all the shiny bits are gone.
How Do I Stop My Logo Showing Up as an Attachment?
Ah, the dreaded paperclip icon. The most reliable way to prevent your logo from being treated like a file attachment is to host the image online. Instead of copying and pasting the image file directly into the signature editor, you need to tell Outlook where to find it on the internet.
This means using a full web address (what we call an absolute URL) in the signature's HTML code. For example, the code should look something like this: <img src='https://yourdomain.com.au/logo.png'>.
This simple line of code tells the recipient's email app to load the image from your web server, not from a file embedded in the email itself. Problem solved. Microsoft has its own knowledge base article on email signatures that touches on this too.
Can I Sync My Signatures Across All My Devices Automatically?
Yes, you absolutely can, provided you're using a Microsoft 365 account with Outlook. The feature you're looking for is called roaming signatures, and it cleverly stores your signatures in the cloud so you can access them anywhere.
To get this working, you'll need to enable it in Outlook on the web. Head to Settings > View all Outlook settings > Mail > Compose and reply. Flick the switch on, and any signature you create or edit will magically appear on your other devices using the same account. Just be aware that very complex HTML signatures might still look a bit different on mobile screens.
For businesses wanting total control, there are dedicated tools out there. Services like CodeTwo offer email signature management that can centralise and standardise signatures for the whole organisation.
A professional email signature is a crucial part of your business identity, and it all starts with reliable email hosting. For fast, secure, and local hosting that keeps your communications online and protected, trust UpTime Web Hosting. https://uptimewebhosting.com.au